Today it’s going to be a bit technical. But don’t worry, I’ll try to keep it as uncomplicated as possible. After all, it’s like cooking, you can make anything with a knife and a pot. But if you know and understand your tools, it gets a lot easier. And above all, better!
Here you will learn how you can make much better pictures with simple adjustments in the camera menu. Because even if modern cameras can already do a lot, reading minds is (fortunately!) not yet one of them. But that means you have to tell the camera what to do.
Yes, I’m a very big fan of post-processing myself. But the goal should always be to take the photo in the best possible way and to have to post-process as little as possible. But we can only achieve that with the optimal camera settings. But there is not always time to adjust all settings to every motif in the best possible way. For this reason, I’ll explain how I set up my camera to get the best possible results in most situations.
But before I go further into the settings, I’ll briefly explain the different programs on your camera. Because they are also important for even more beautiful forest photos.
The most important camera programs briefly explained
Program Mode
P is the Program Mode for most manufacturers (I hope this is also true for non-German cameras). The camera calculates everything automatically. The aperture, shutter speed and iso are set by the camera. You only have to press the shutter button. The main difference to the “Auto” mode (usually shown as green camera) is that you can make small changes if necessary. To do this, you simply turn the wheel with which you make the settings.
On older models, you could shoot in RAW in P, but not in Auto mode. Today you can shoot in RAW in both modes. You can choose Program Mode if you don’t want to worry about the settings. For snapshots, the setting is quite OK, but if you really want to take ambitious photos, then you can safely forget that your camera has a program automatic.
Semi-automatic modes
By now, every camera has semi-automatic modes. You specify a certain value (time or aperture) and the camera calculates the appropriate equivalent. My recommendation for beginners is to start using the semi-automatic programs right away. After a short time you will understand the relationship between aperture and shutter speed and can then easily switch to manual mode.
But I myself use the semi-automatic mode about 80-90% of the time. With my Canon 80d it works very well so far. It rarely happens that I am not satisfied with a result. Then I sometimes switch to M (manual).
T/Tv/S: Shutter priority or time preselection
S at Nikon camera and Tv (Time Value) at Canon means that you specify the exposure time. Your camera then automatically calculates the appropriate aperture. You use the shutter priority mode for example, when you absolutely need a slow or fast shutter speed.
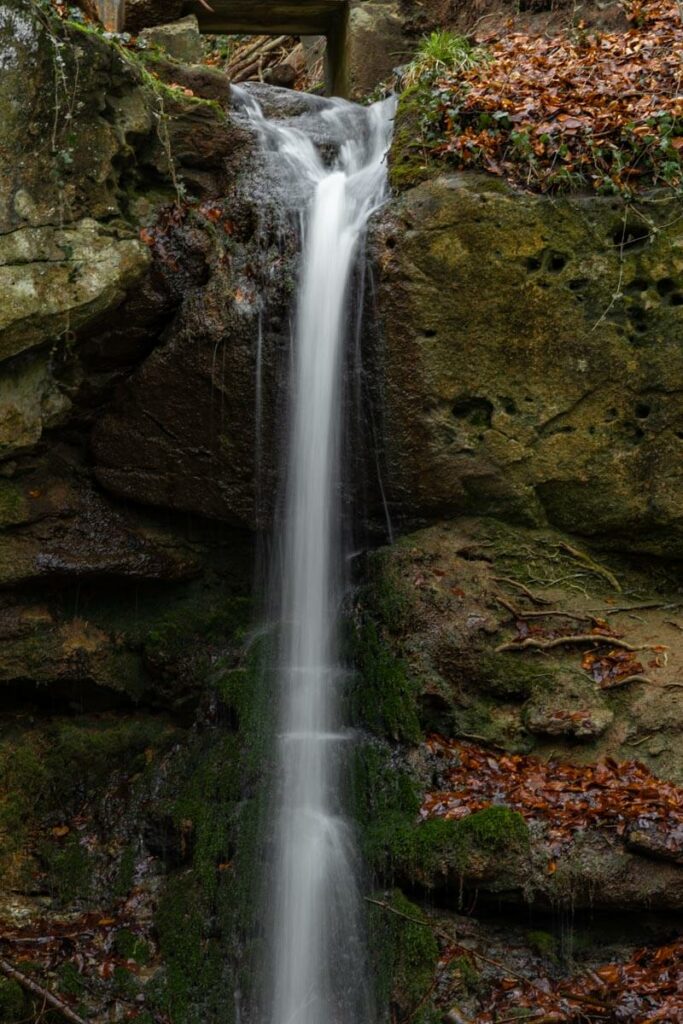
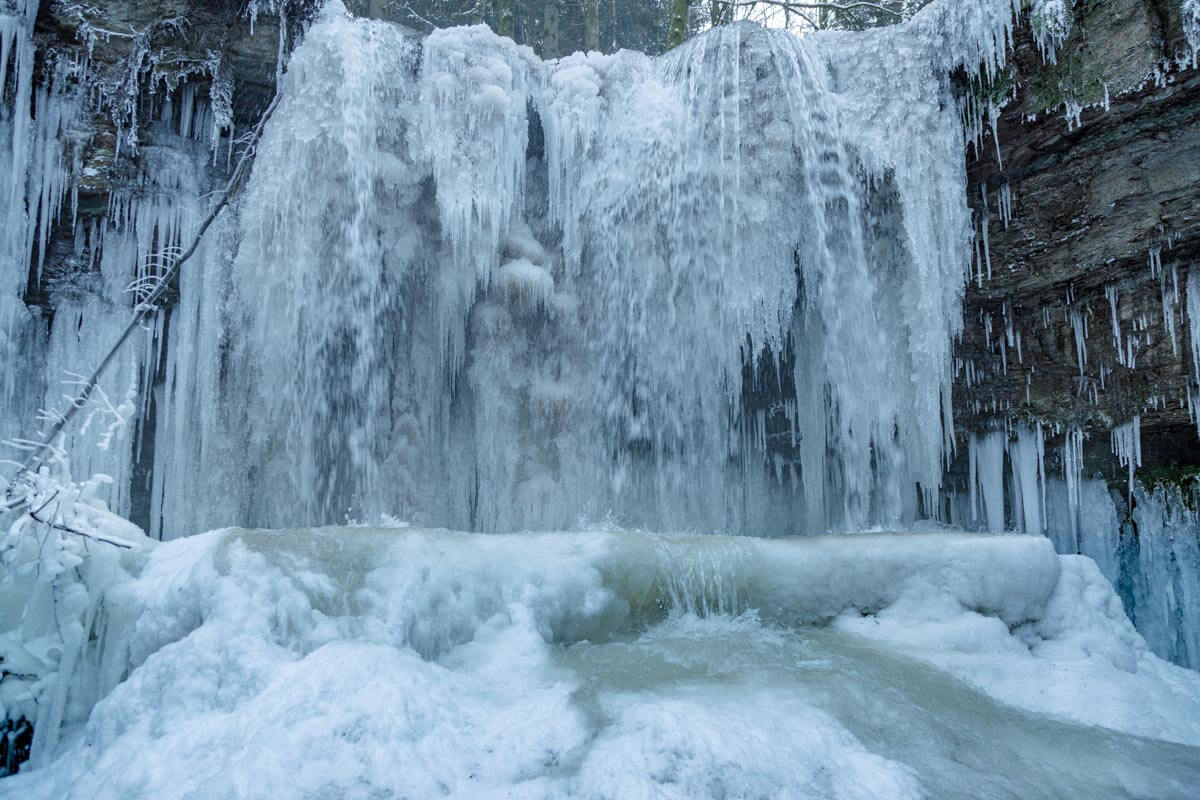
This can be the case if you want to shoot a stream in the forest so that the water looks “flowing”. Or if it’s very windy and you don’t want any motion blur in the subject, so you need a very fast shutter speed.
A/Av: Aperture Priority
Aperture priority is basically the opposite of shutter priority. In A or Av mode, you determine how wide the aperture of the lens is opened and how much light should fall on the lens. The camera calculates how long it takes for the image to be correctly exposed.
You use the aperture to determine how much of your image should be in focus. With a large aperture (small number!), a lot of light falls in, but the area that becomes sharp is relatively small. With a small aperture (large number), it’s the other way around.
In der Landschaftsfotografie nutzt du meistens eine kleine Blende, um ausreichend Schärfentiefe zu bekommen. Die meisten Objektive sind bei einer Blende von 8 bis 11 am schärfsten. Das bedeutet aber nicht, dass du nicht auch einmal eine Blende 16 oder gar 22 verwenden kannst. Allerdings verlieren viele Objektive hier wieder an Abbildungsleistung. Möglicherweise gehen dir dann einige Details verloren. Schlimmstenfalls wirkt dein Bild „matschig“. Welche Blendenzahl bei dir die beste Leistung liefert, musst du für jedes Objektiv
M: Manueller Modus
Im „Manuellen Modus“ tut die Kamera genau das, was du ihr sagst. Nicht mehr und nicht weniger. Wenn du ihr sagst, dass sie 1“ (Sekunde) bei Blende f2.8 belichten soll, dann tut sie es auch. Du bist der Herr über die Kamera und gibst alle Einstellungen vor.
Wann du M benutzt? Am besten immer. Nein, Spaß beiseite. Ich nutze den Manuellen Modus, wenn ich bei einbestimmten Blendenwahl eine bestimmte Belichtungsdauer haben will. Meine persönliche Meinung ist aber, dass man meistens mit AV oder TV in der Waldfotografie auskommt. Du siehst das anders? Dann schreibe mir doch dazu einen Kommentar, wieso du dieser Aussage nicht zustimmst.
Kameraeinstellungen – die Grundlagen
1. Begrenze den maximalen ISO-Wert
Wenn du den ISO-Wert deiner Kamera nicht begrenzt, wird sie in der ISO-Automatik den jeweils besten ISO wert auswählen. In der Woodland Fotografie hast du nur selten bewegte Motive. Von daher hast du in der Regel Zeit, den ISO-Wert passend einzustellen. In der Woodland Fotografie sollte er möglichst klein gehalten werden.
Manchmal aber willst du eine bestimmte Blende und eine bestimmte Zeitvorgabe einstellen. Das ist unter anderem dann der Fall, wenn du Vögel oder andere Waldtiere, die sich schnell bewegen, ablichten willst. Dann kann es notwendig sein, den ISO-Wert zu erhöhen. Entweder du stellst ihn manuell ein oder du lässt die Kamera den idealen ISO-Wert berechnen.
Jede Kamera hat ein anderes Rauschverhalten. Manche Modelle liefern noch bei ISO 3200 sehr gute Qualität, andere sind bei ISO 1000 schon überfordert und dein Bild wird verrauscht. Mit der Begrenzung auf den für deine Kamera noch akzeptablen ISO-Wert verhinderst du, dass du deine Bilder mit zu hohem Rauschen bekommst.
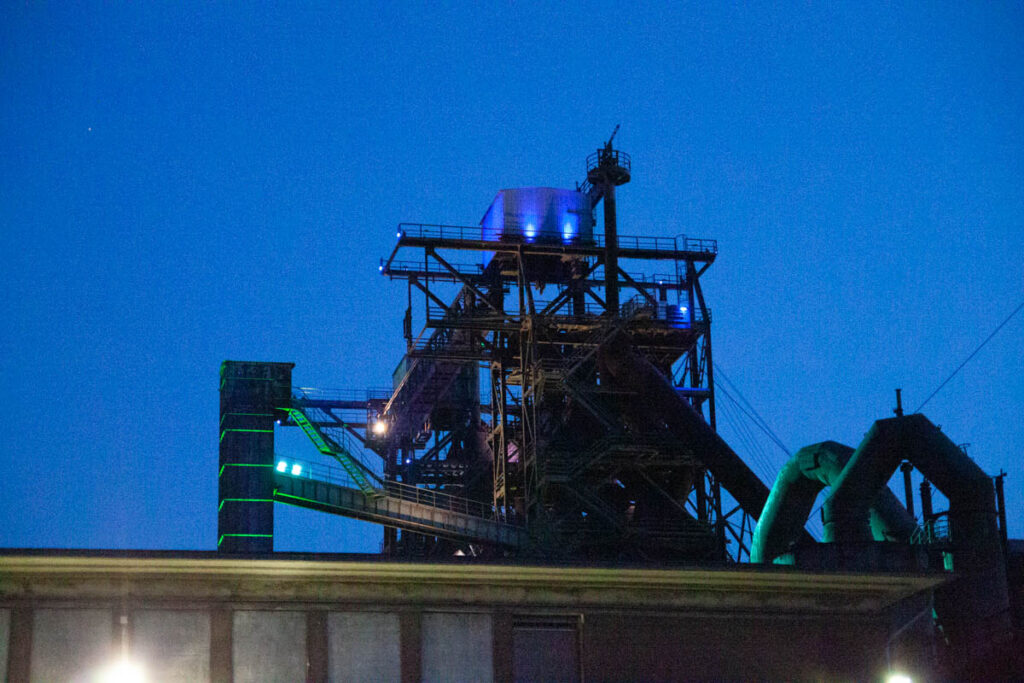
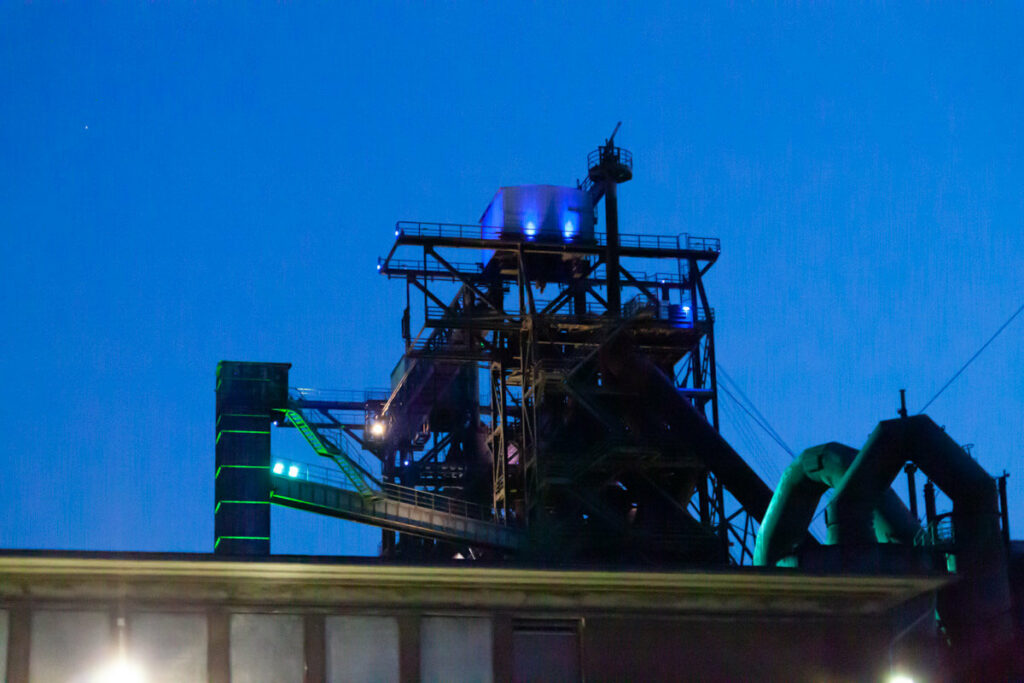
2. Belichtungskorrektur erhöhen
Je heller ein Bild aufgenommen wird, umso mehr Informationen beinhaltet es. Natürlich darf es nicht überleichtet sein, dann verkehrt sich der Effekt wieder ins Gegenteil. In den Modi AV und TV kannst du eine Belichtungskorrektur vornehmen.
Im Wald sollte deine Belichtungskorrektur immer etwa 1/3 bis 2/3 Blenden erhöht sein. Dadurch wird das Bild nochmal einen Tacken heller. Das kann am Ende über Erfolg und Misserfolg eines Bildes entscheiden. Im Modus M ist die Belichtungskorrektur nicht möglich. Hier regelst du die Belichtungszeit über die Belichtungsdauer.
Pro-Tipp: Über die Manuelle Belichtungskorrektur kannst du eine etwas längere Belichtungszeit einstellen, ohne einen Graufilter zu benutzen. Diesen Effekt kannst du beispielsweise verwenden, um fließende Gewässer aufzunehmen.
3. Weißabgleich
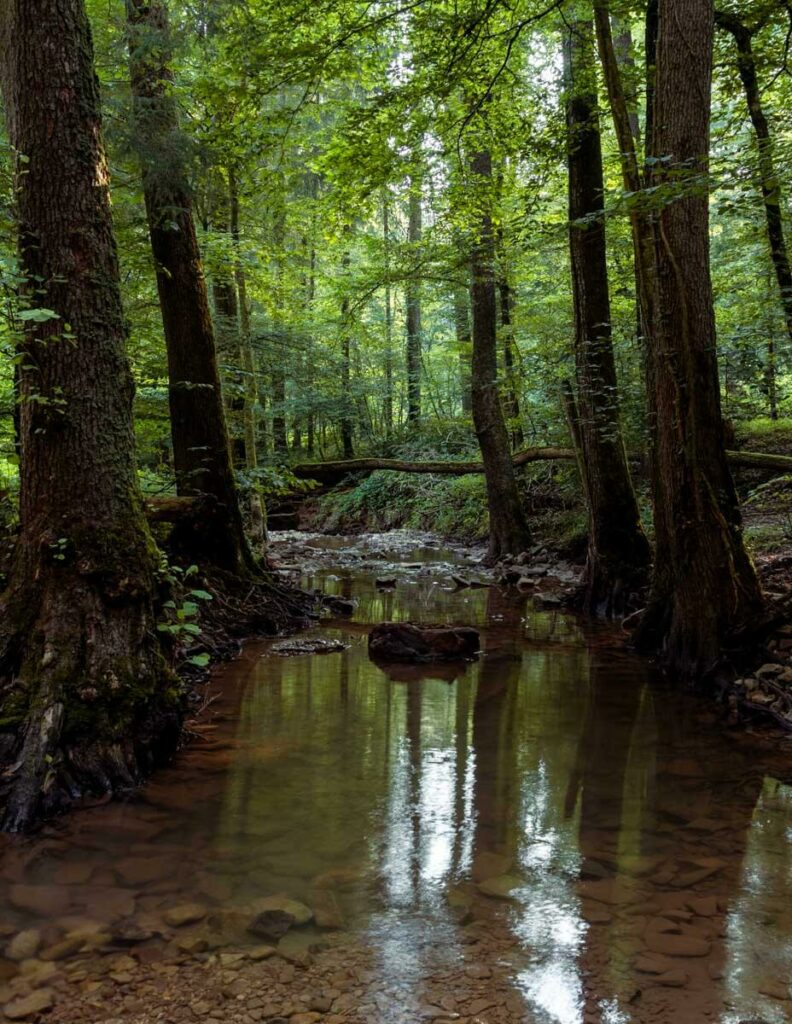
Natürlich kannst du den Weißabgleich in Lightroom jederzeit anpassen. Im Wald steht mein Weißabgleich aber auf „bewölkt“. Das führt meistens zu etwas wärmeren Farben. Alternativ lässt du ihn doch auf „automatisch“ stehen und korrigierst ihn während deiner Nachbearbeitung.
4. Autofokus-Betrieb auf One Shot
One Shot (bei Nikon: AF- Einzelautofokus) ist die ideale Einstellung für unbewegte Motive. Falls du nicht im Live-View Modus fotografierst, sondern durch den Sucher, ist das die beste Einstellung für deine Waldfotos.
5. Die beste Messmethode
Es gibt verschiedene Messmethoden, mit der die Kamera die Belichtung errechnet. Im Wald nutze ich meistens die Mehrfeldmessung. Dabei wird beinahe die gesamte Motivfläche erfasst und die ideale Belichtung berechnet.
6. Bildqualität
Ich fotografiere immer in RAW. Wenn du hinterher deine Bilder bearbeitest, gibt dir das die meisten Möglichkeiten. Auch wenn du heute deine Bilder nicht bearbeiten magst, du weißt nicht, wie es in der Zukunft aussieht. Deshalb ist meine Empfehlung, auf jeden Fall in RAW zu fotografieren. Falls du unsicher bist oder wenig Zeit zur Bearbeitung hast spricht aber nichts dagegen, deine Bilder zusätzlich auch JPEG aufzunehmen.
Mit diesen Kameraeinstellungen hast du die Grundlage gelegt, um in möglichst vielen Situationen gute Ergebnisse zu erzielen. Aber nicht vergessen, das hier ist kein eierlegende Wollmilchsau-Leitfaden! Es wird immer Situationen geben, wo du deine Einstellungen anpassen musst. Vieles kannst du aber auch im Nachgang über das Bildbearbeitungsprogramm deiner Wahl erreichen.
Das soll es an dieser Stelle gewesen sein. Bitte berichte mir von deinen Erfolgen mit den angepassten Kameraeinstellungen. Auf Instagram kannst du mich auch unter @woodlandphotography.de taggen.
Allzeit bestes Licht wünscht,
deine Tanja

No comment yet, add your voice below!