The biggest photography mistake you can make in woodland photography
Sunday, it is the middle of the night, 3a.m. I’m awake and feel like I could pull out trees. But it’s the middle of the night. There are still more than three hours until sunrise. So I lay down on the couch, read a bit in the internet and plan my photo tour. The weather forecast says, it is going to be foggy. I’ve been waiting for fog forever! Finally, I fall asleep again, until at 5:30 the alarm clock wakes me rudely from a weird dream.
Your trust is extremely important to me: This article contains referral links (affiliate links). If you buy a product through one of the links, I will receive a small commission. You will not incur any additional costs and you support this blog. Thank you very much! Your Tanja
One look out of the window and I am awake. Fog, the most beautiful, dense fog! The question of whether I should go back to sleep is off the table. My camera batteries are charged, the memory card is emptied. I quickly pack something to eat and drink and then I’m ready to go.
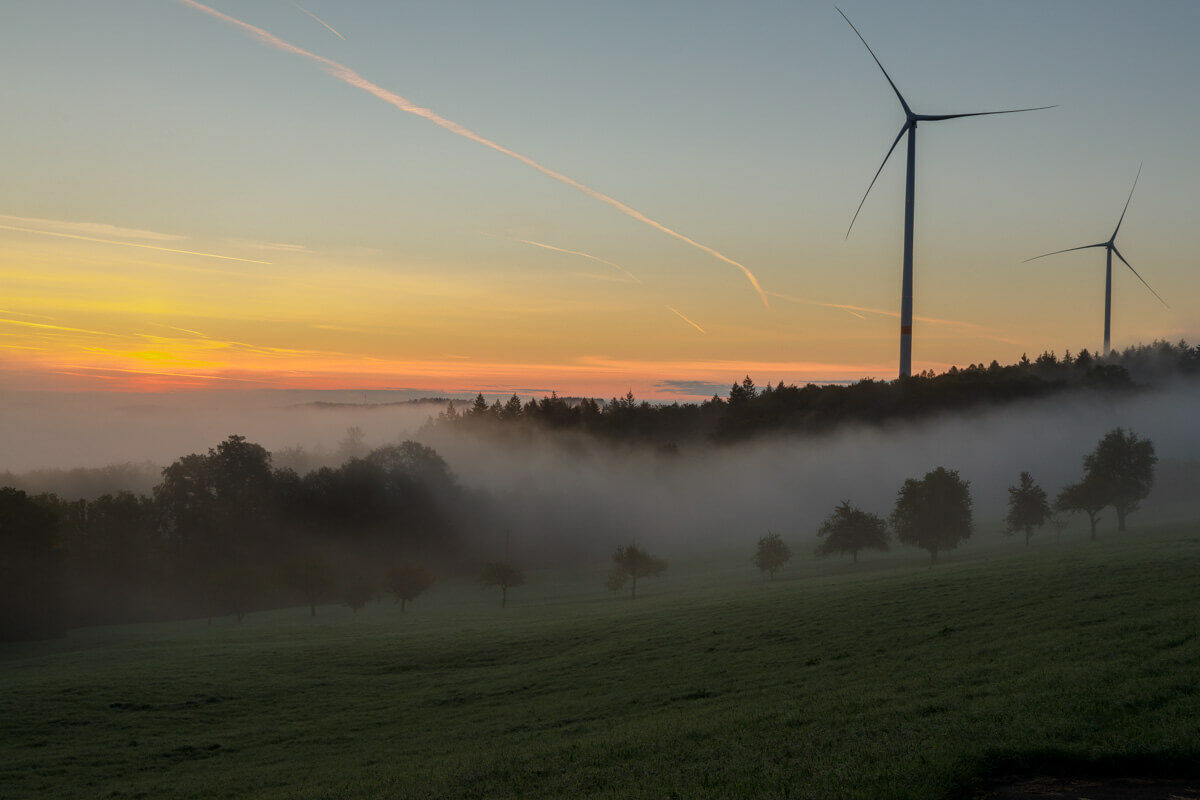
I drive up the hills through dense fog. I want to take my first photo of the day from the top. What a bummer, my tripod is still at home! So back home, get the tripod tripod and back again. What sounds annoying at first, was a huge luck. The light was already much better and this beautiful photo was the result.
Fog everywhere - everywhere but in the forest
I decided to go to the forest in Baltmannsweiler. Here are many old beeches and some oaks, which are beautiful photo motifs. There is only one problem: there is no fog. The apple trees on the meadow next to the hiker’s parking lot are in dense fog. But the forest path is as clear as a polished diamond. Not a wisp of fog far and wide.
Anyway, I decide to walk a little through the forest. There are many forestry paths and small paths that depart from the main path. Surely a nice photo motif can be found here?
Well, not really. The light is not good, there is no fog, not even any good mushrooms can be seen. Either they have already been beaten away or are half rotten. That was probably nothing. Somewhat frustrated I take a small breakfast break and decide that I better go back to my car and go somewhere else.
Woodland Photography - I almost made a mistake
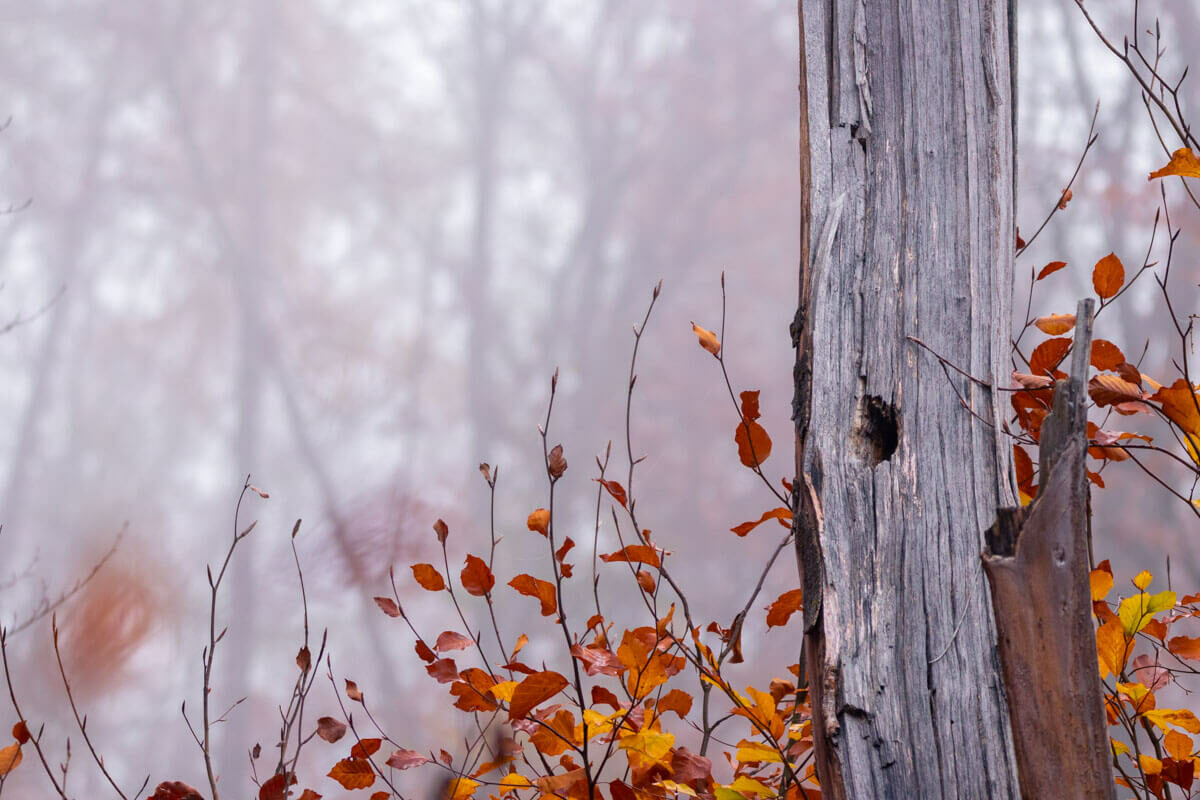
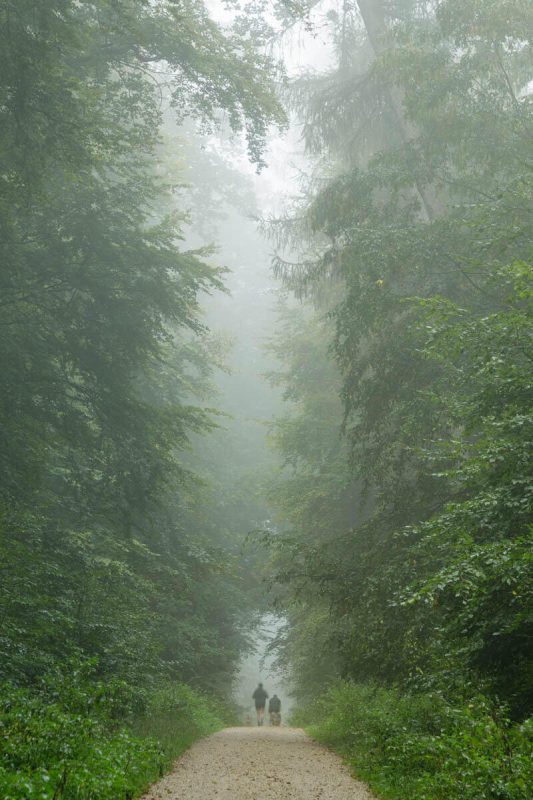
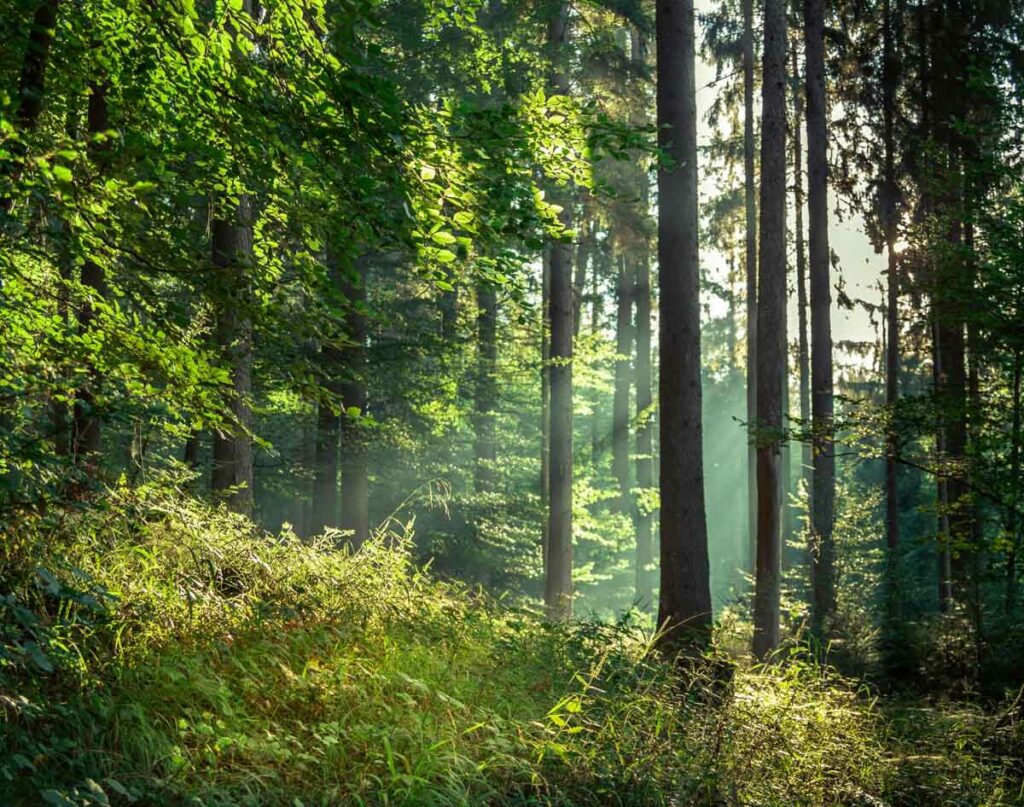
I almost made the biggest mistake you can ever make in woodlany and any kind of landscape photography. Besides forgetting your memory card and spare battery. I do not go back the direct way, but the a bit further along the small path, which will lead me to the main path. The best decision I could make! Because only shortly after my break, a few meters further through the forest ist starts to show, fog!
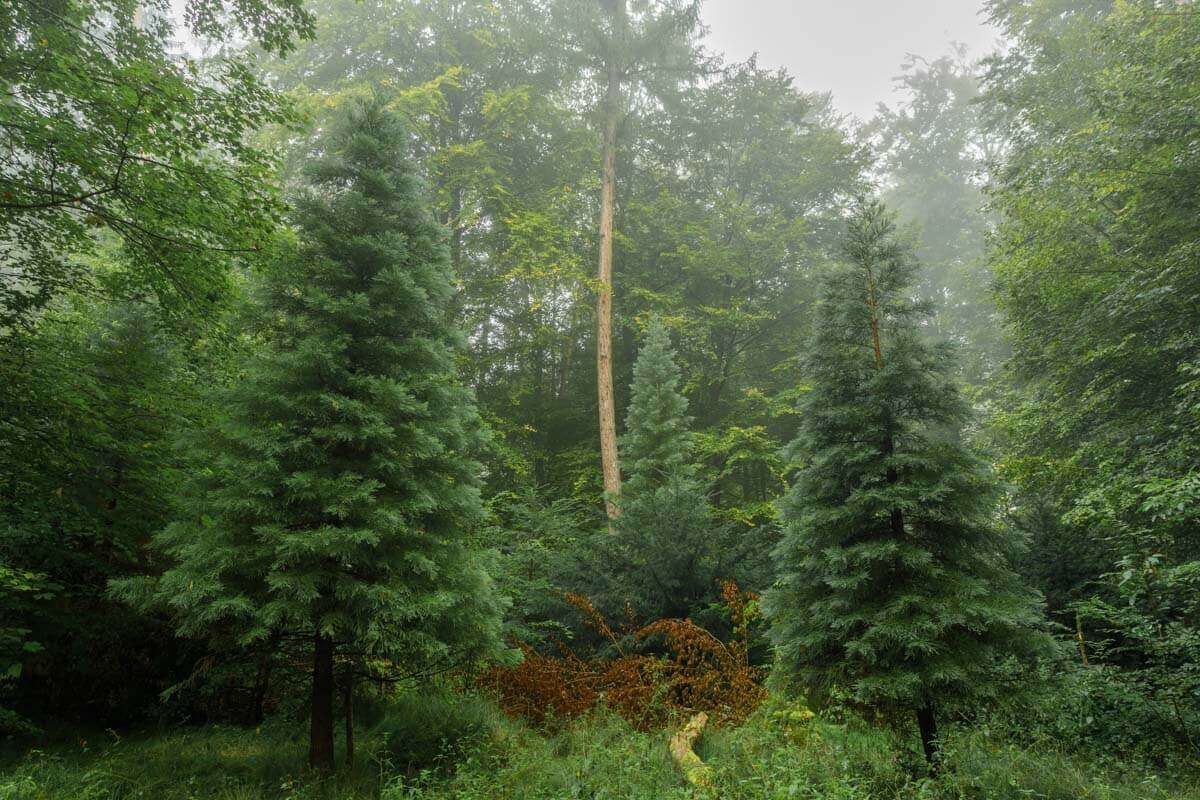
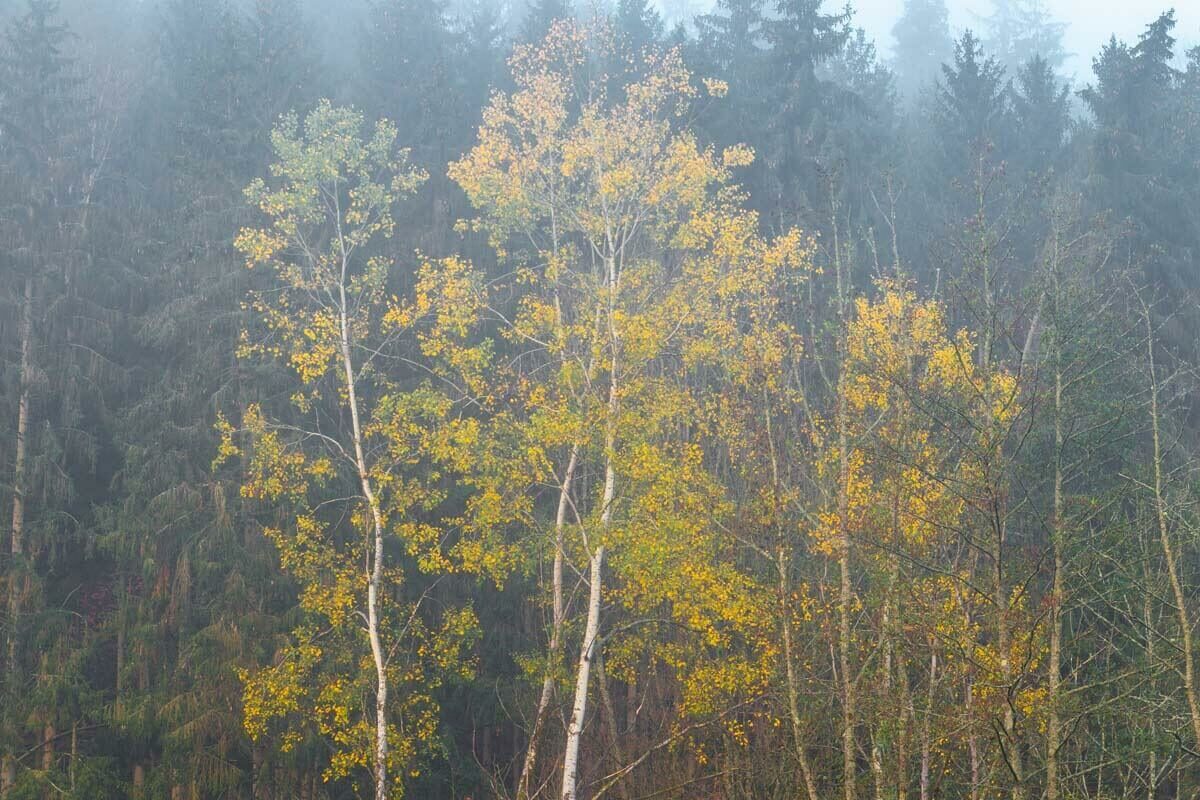
At first still timid, soon thicker and thicker clouds of fog move through the trees and immerse everything in a mystical light. Gladly I did not go back earlier, but have taken a break and still went the slightly longer way.
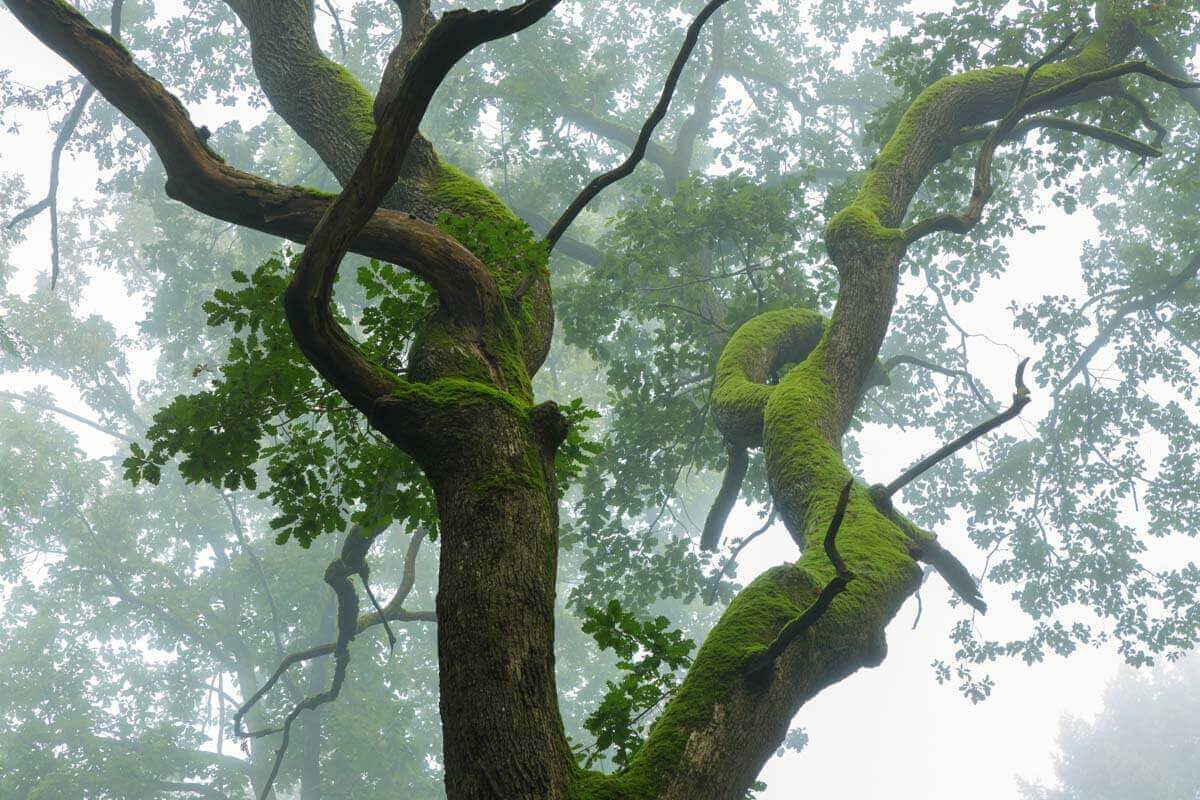
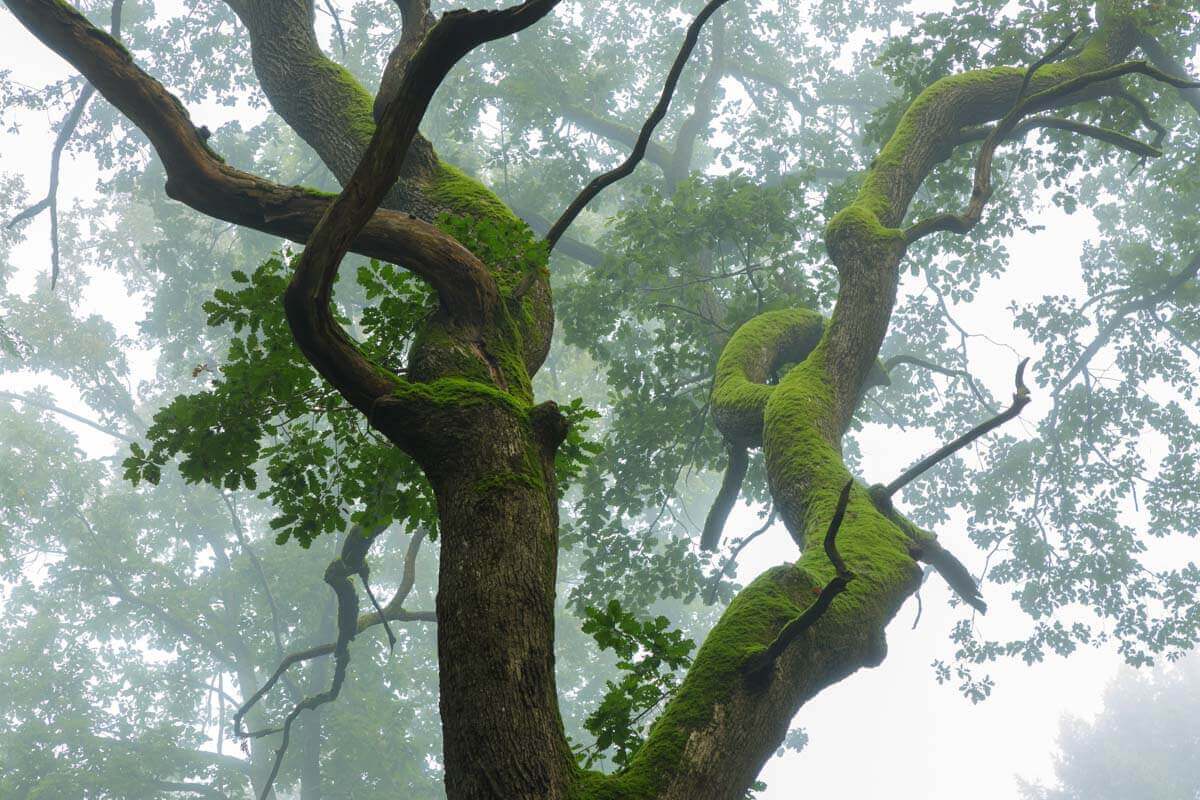
On the way to the main path I find then really beautiful motives. This old oak has done it to me particularly. Proudly it stands there, between the beeches. As if it wants to keep up the memory of the king. A patient model, which I photographed a lot.
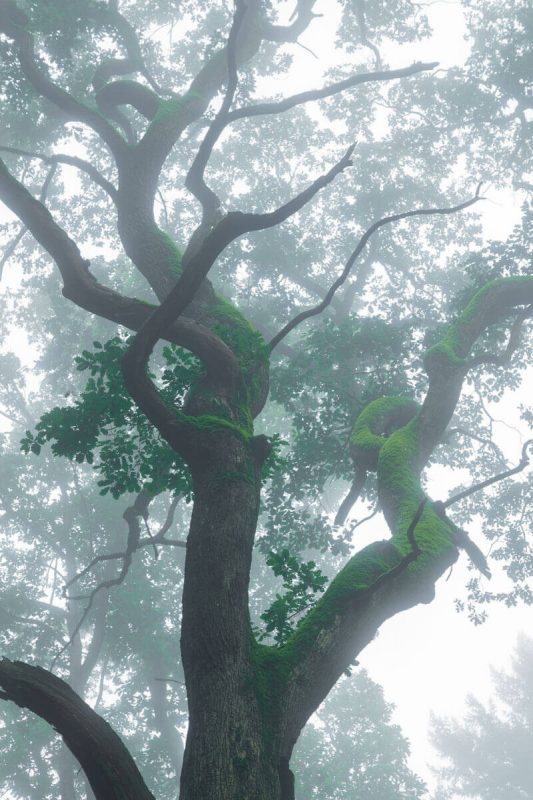
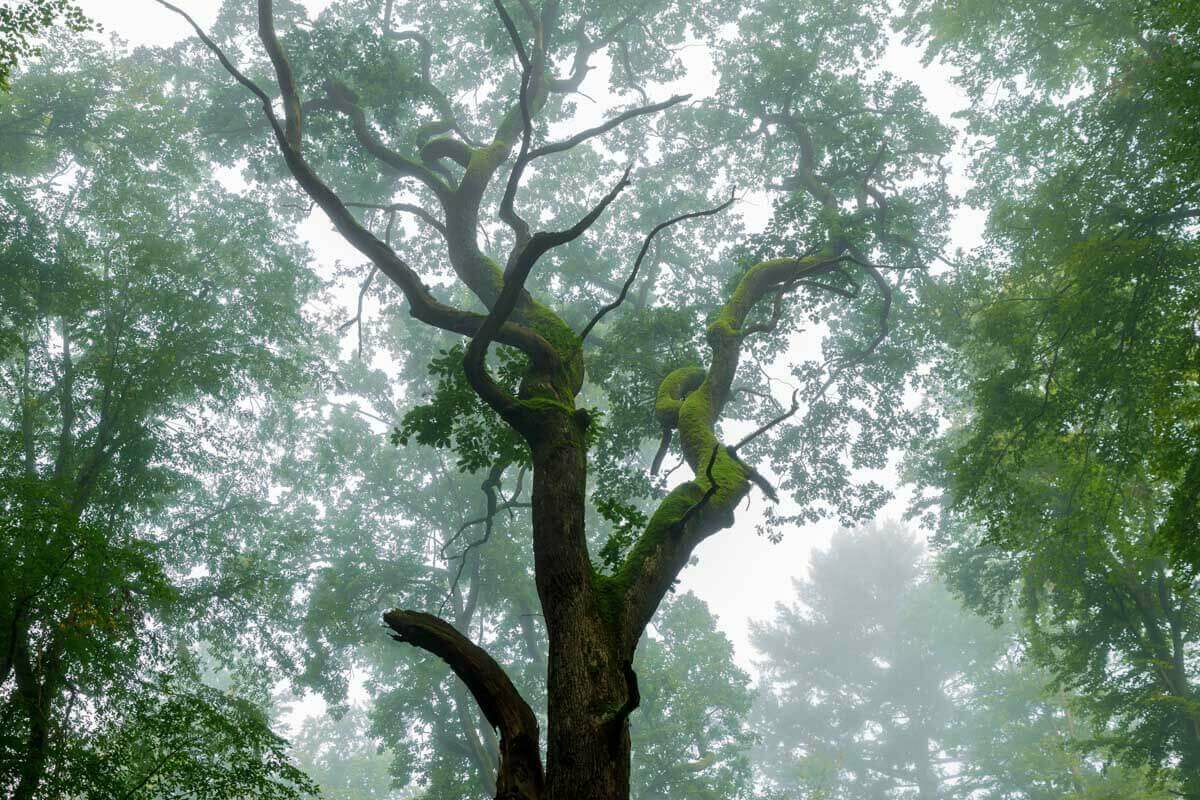
I continue to the “Schlösslesseen”, two small lakes in the forest, which are also in the fog. Here, too, I managed some really nice shots. I am glad that I am here and can take advantage of the fog.
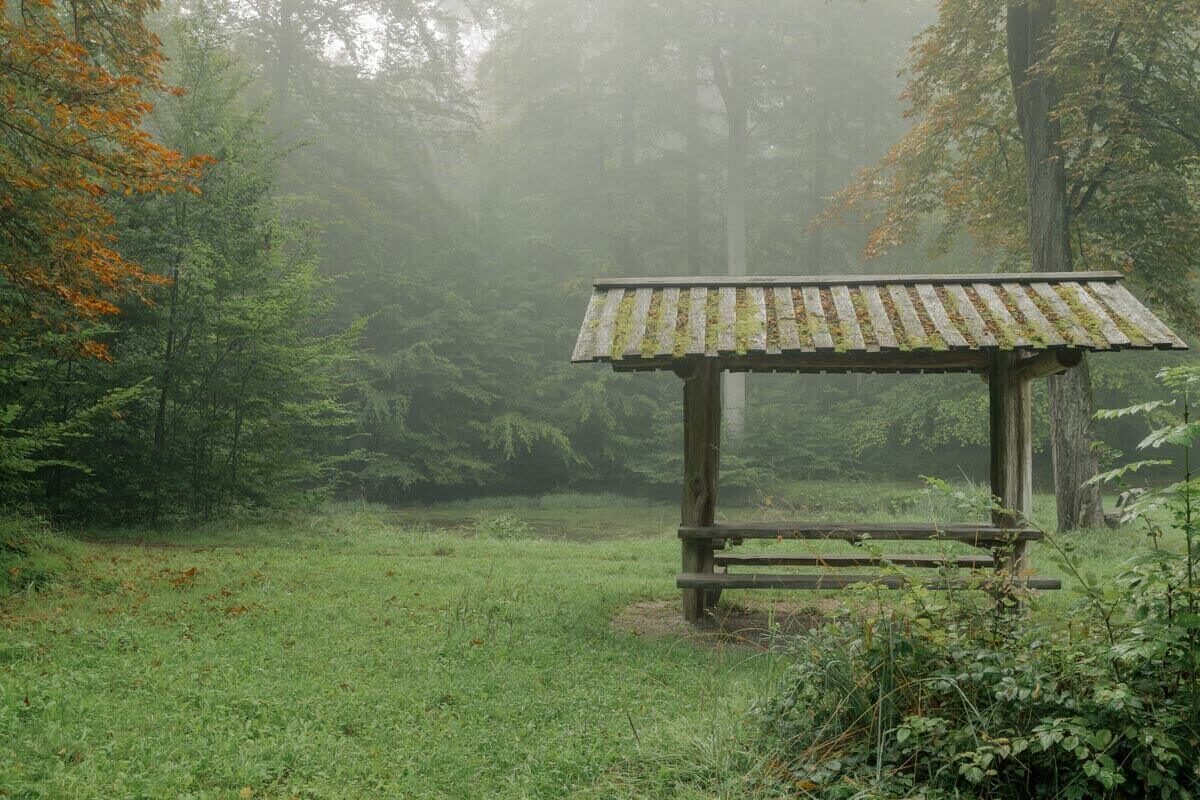
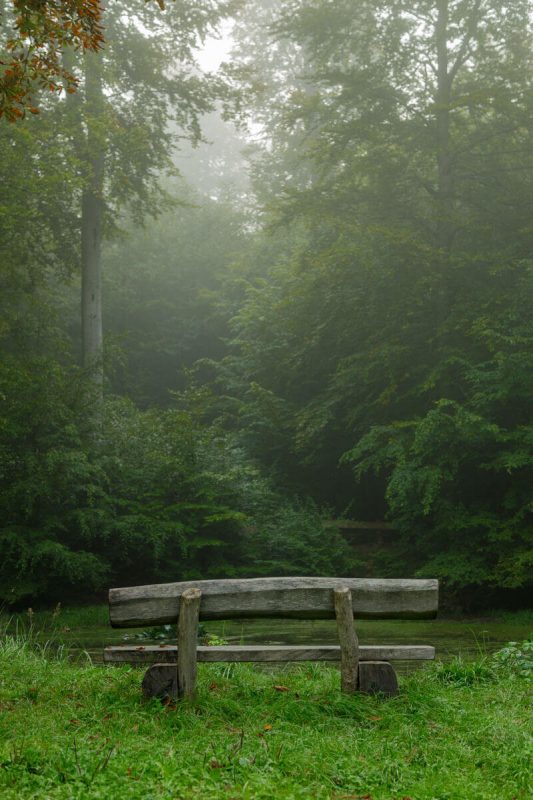
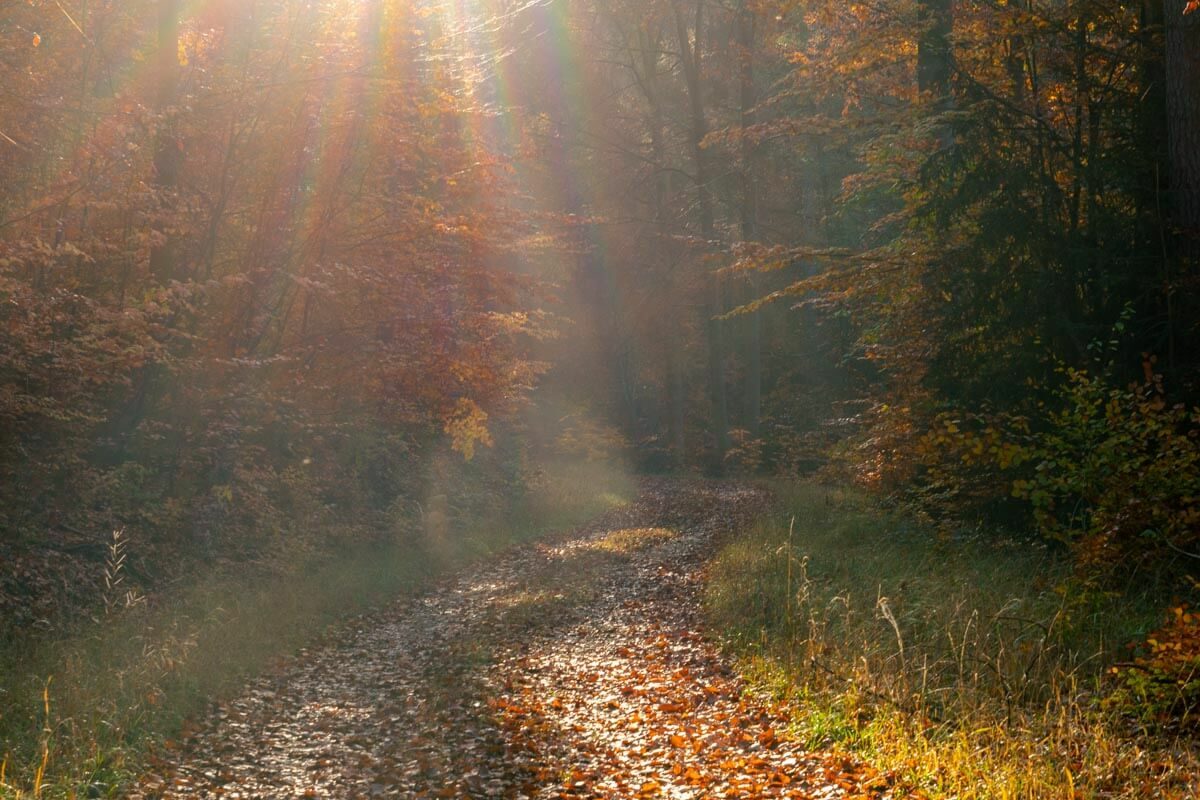
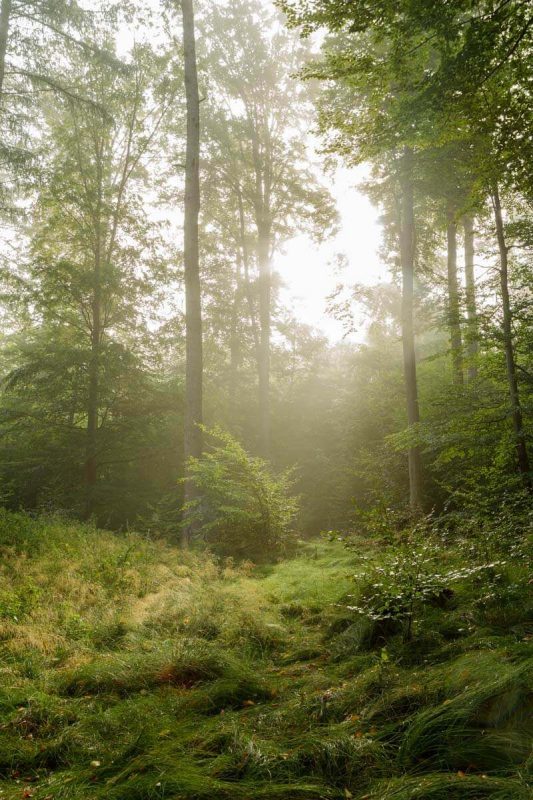
On the way back, which leads via the small path to the king (the remains of giant oak tree), there is unfortunately hardly any fog. The path is a little lower than the main trail. At least some clouds still waft through the higher trees. Later even some sunrays made it through the fog and clouds, which has led to really beautiful shots.
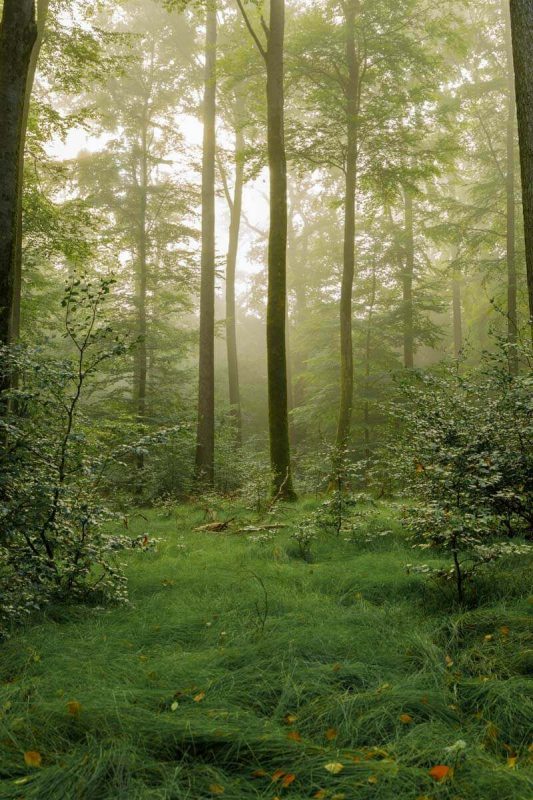
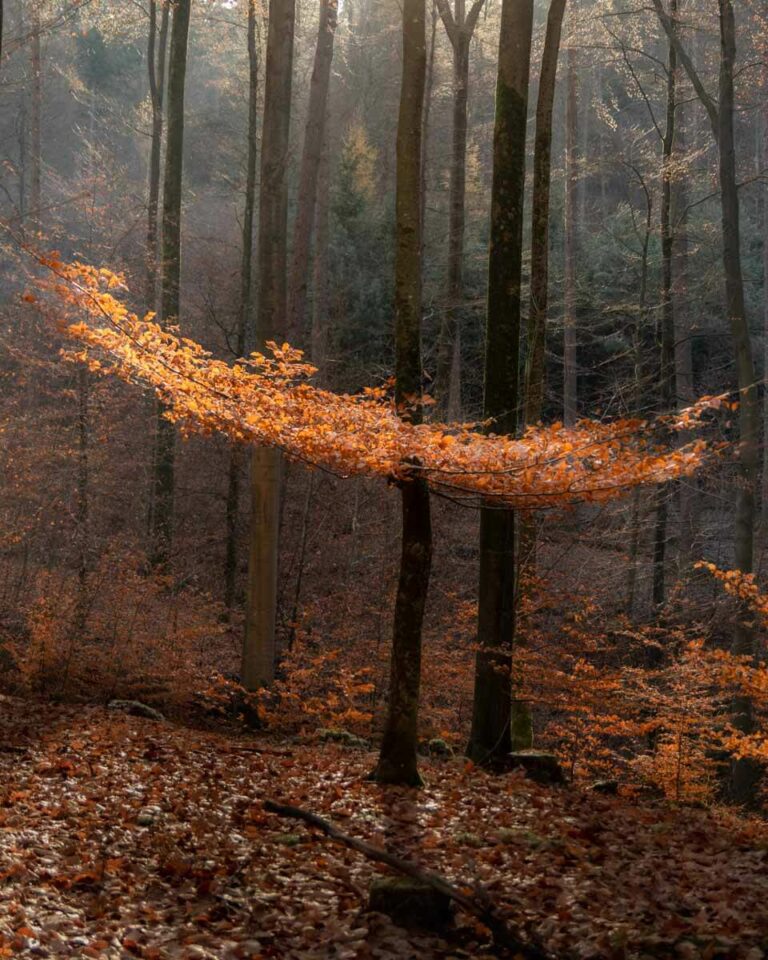
A small tree has caught my eye. I moved a little closer, took some pictures and then took a second breakfast break. But as soon as I sat down on an old tree stump and drank some water, I saw a glow in the corner of my eye. Immediately I jumped up and took advantage of the short time when the sun’s rays came through the mist and illuminated the little tree as if hit by a spotlight. For such mornings getting up way before sunrise is really worth it!
Woodland photography - The biggest mistake you can make
So, what is this mistake I was talking about? The biggest mistake you can make is to overturn your plan in the short term. Panicking from one place to another because you don’t immediately find the conditions you were hoping for. This is called FOMO, fear of missing out.
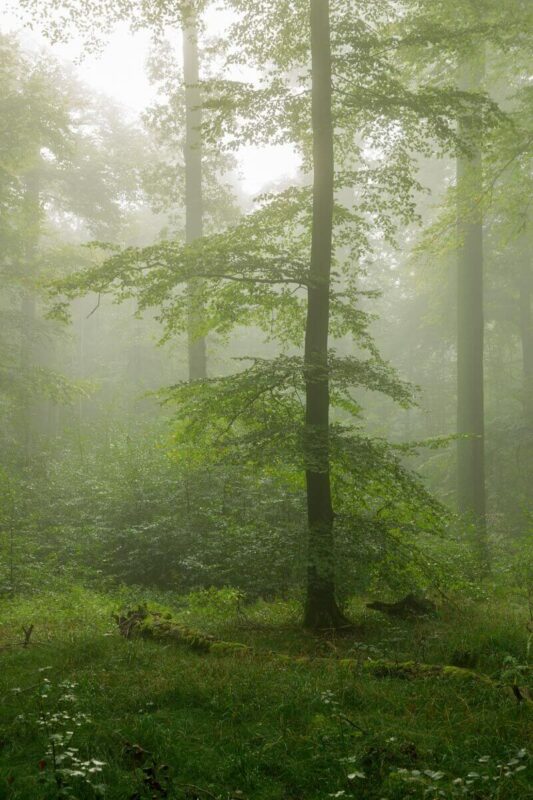
But this will eventually lead to exactly the opposite. You will miss the best moment if you rush from one place to the next. Into the forest, out of the forest, into the car, out of the car, into the forest and it’s all over.
Believe me, I’ve been there! Not today, but often enough. No fog there, no sun, I’ll try the woods 20 minutes away, over on the opposite mountain. No sooner had I arrived there than the most beautiful fog rolled in at my point of origin. Countless times I have already experienced it.
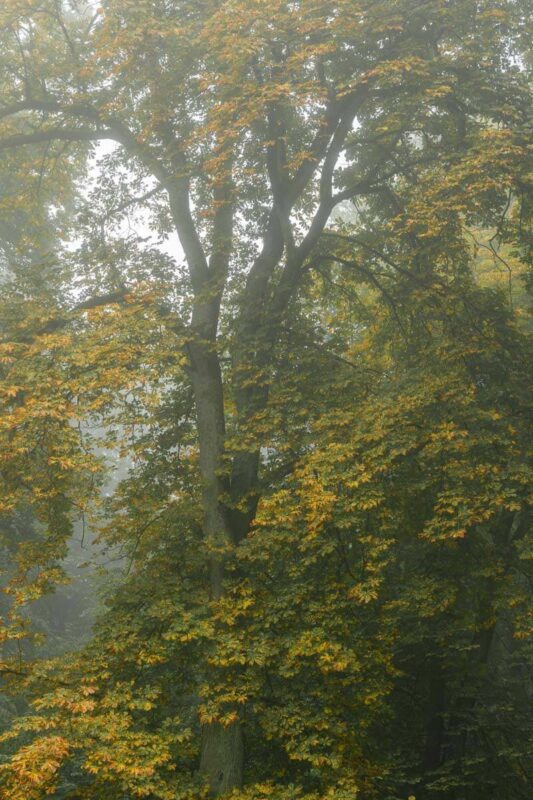
Once you’ve decided on a patch of forest or a specific location, stick with it. Sometimes conditions won’t change, but often enough your patience will pay off.
Have you made this mistake, too? What do you think is the biggest mistake in photography? Let me know in the comments.
Melde dich zum Newsletter an und nimm automatisch am Gewinnspiel teil!
(Den Gewinn findest du bei den Teilnahmebedingunen)
Thank you!
You have successfully joined our subscriber list.
Always best light
wishes Tanja
Woodland photography in summer – tipps and a morning walk
Summer is the least interesting season for most landscape photographers. And I also find the months of July and August the least photogenic. It gets light early, dark late and in addition nature is somehow in an intermediate state. The spring flowers have faded, the fresh green is meanwhile richer and darker, but the autumn colors are still waiting. In addition, the heat makes me rather sluggish. You’ve probably noticed, these are all excuses why you should sleep in on the weekend instead of doing the only right thing: dedicating yourself to forest photography in summer.
So no more excuses. The weather was good, no storm, rain or thunderstorm was announced. And my inner clock likes to throw me out of bed at 5 a.m. even on weekends anyway. And so some beautiful photos were taken on this sunny morning, which I want to show you today.
Your trust is extremely important to me: This article contains referral links (Affiliate-Links). If you book a hotel or buy a product through one of the links, I will receive a small commission. You will not incur any additional costs and you support this blog. Thank you very much! Your Tanja
Forest photography in summer - a special challenge
Forest photography in summer has always been a challenge for me. It has always been difficult for me to find beautiful motifs. The leaves of the trees are no longer as fresh as in spring, the light is also only really nice early in the morning and late in the evening. Spring flowers bloom almost only in spring, mushrooms, on the other hand, are still rather rare.
But if you open your Aigen, then you can find even directly on the roadside many beautiful motifs. So forest photography in summer doesn’t have to be automatically boring. All you need is an alarm clock and motivation to get up a little earlier.
Forest photography in summer - pictures are everywhere
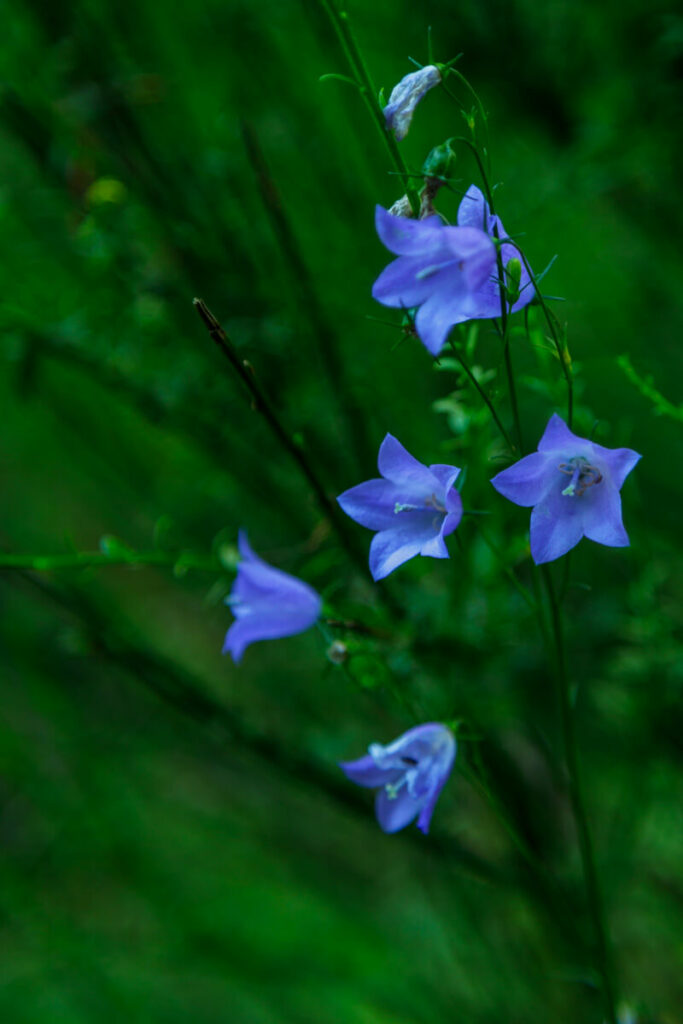
A few flowers still bloom along the way. Like for example these bellflowers. I tried different exposures. Very bright and very dark. But I like this slight moody look with this motif better than the bright images. And what do you think?
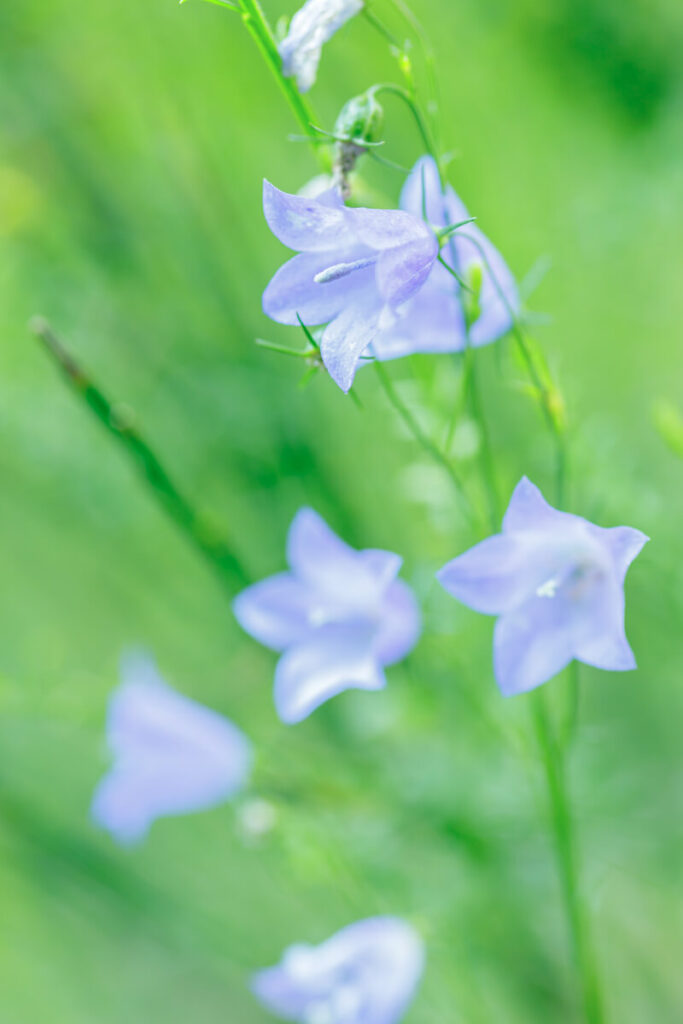
The sun was at the right angle at the right time. Some golden rays of sunlight fell through the leaves. It’s fascinating to see how quickly the light changes. And what a slight change in position of the camera can do. There are only 20 minutes between the following pictures. And only a few meters I walked further up the path. But what was even more exciting were the individual spots that were illuminated by the light and almost glowed golden.
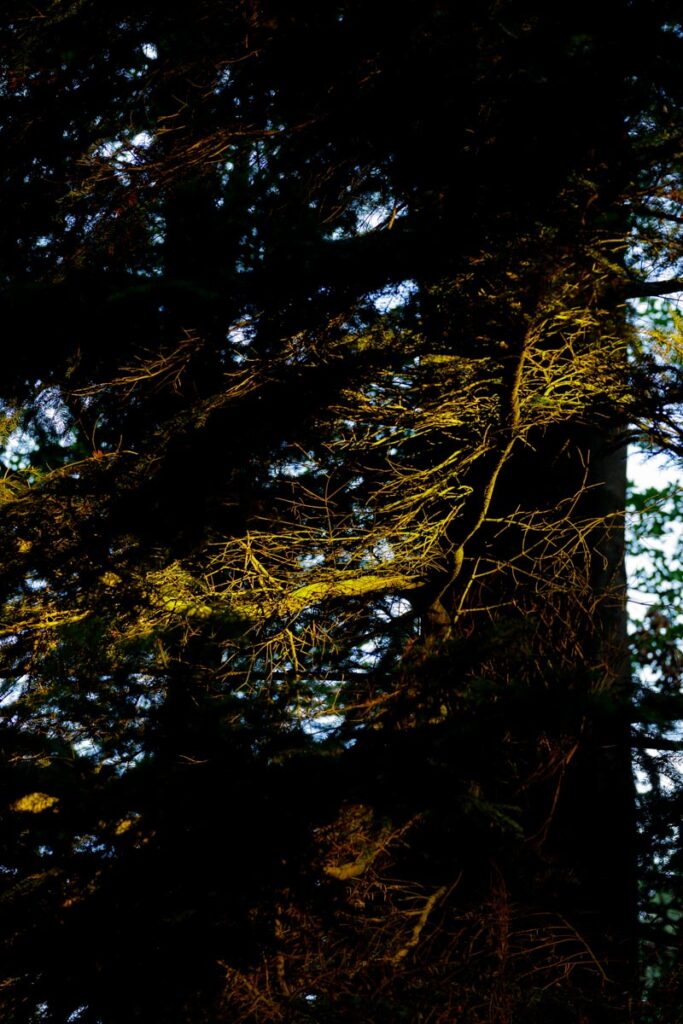
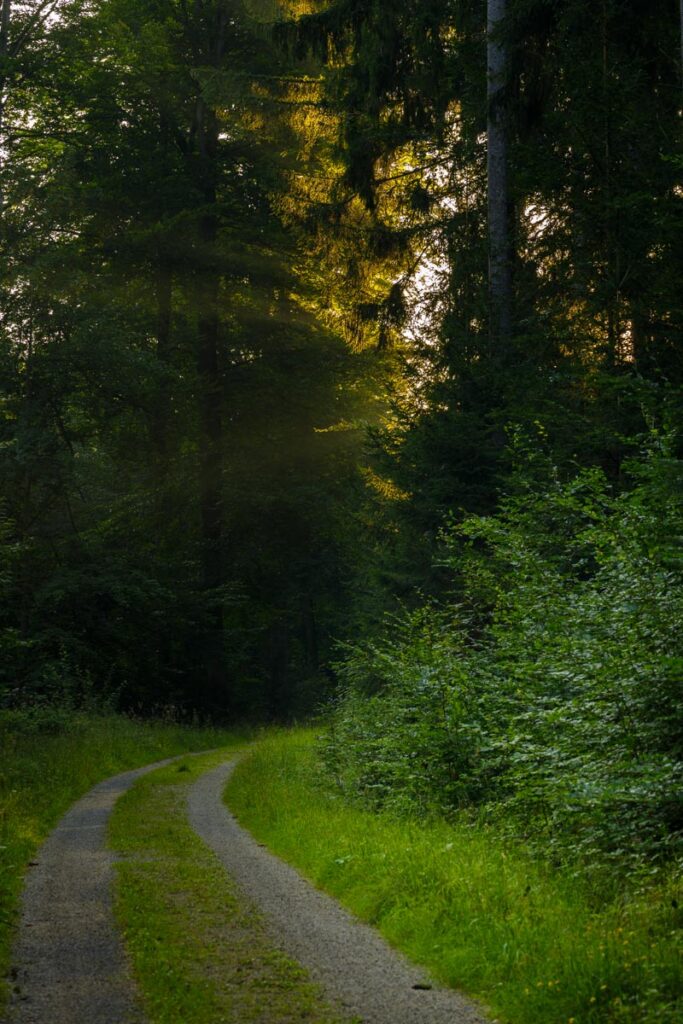
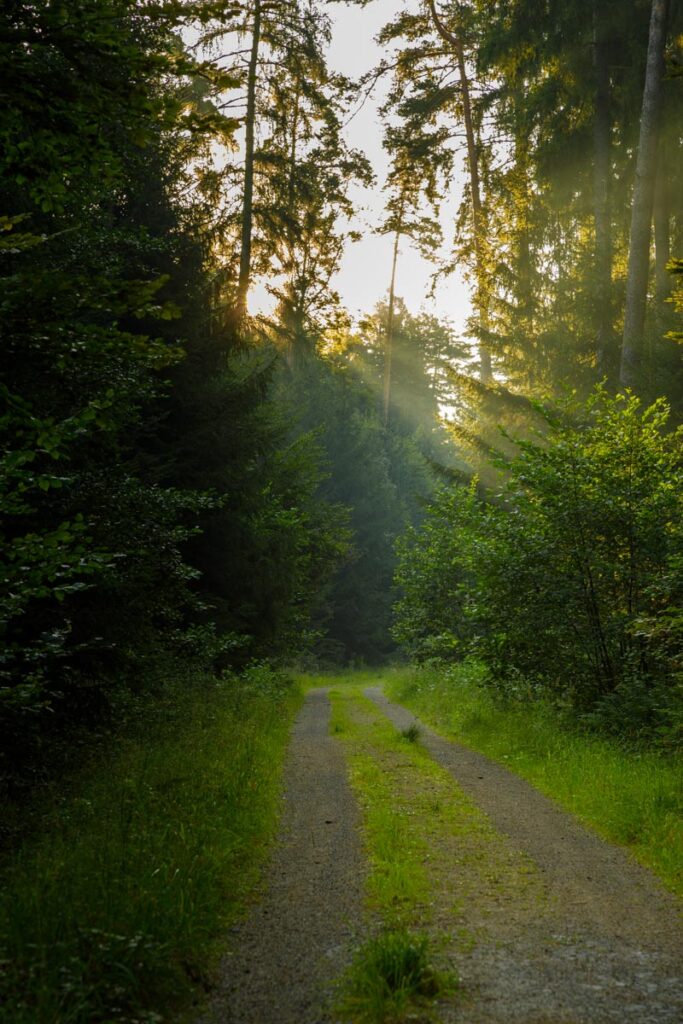
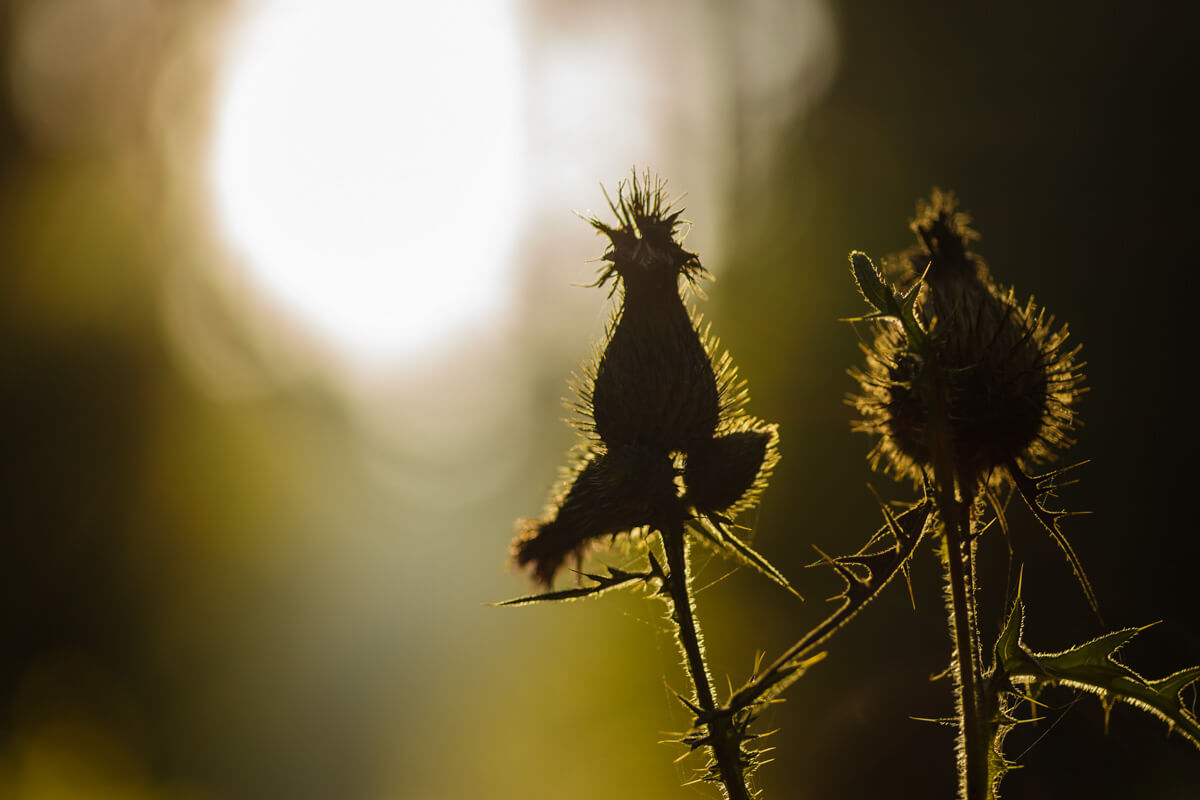
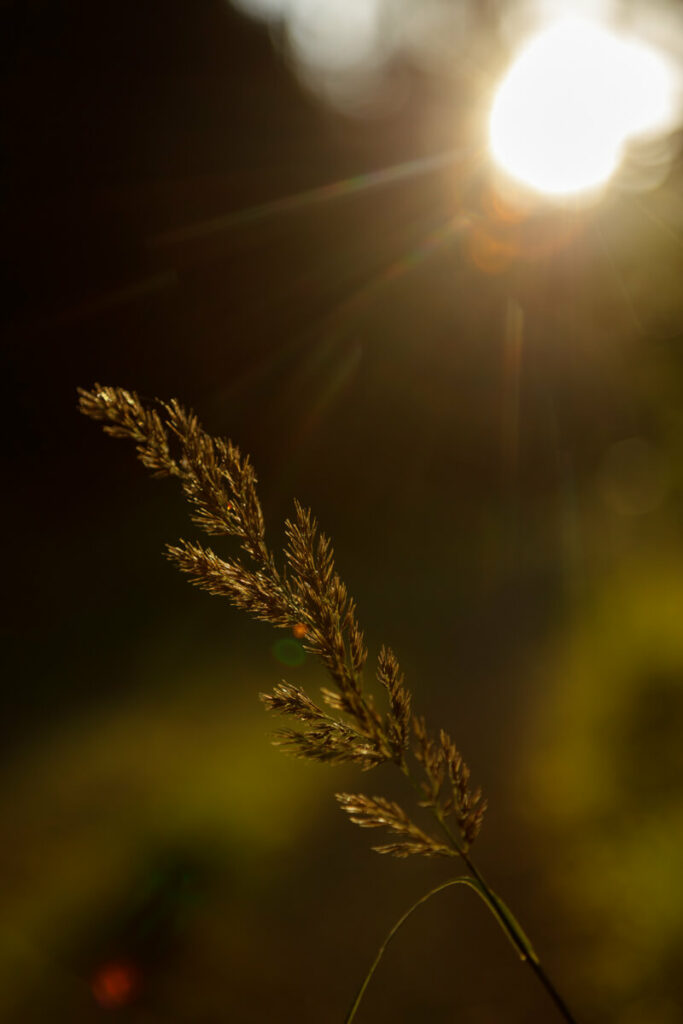
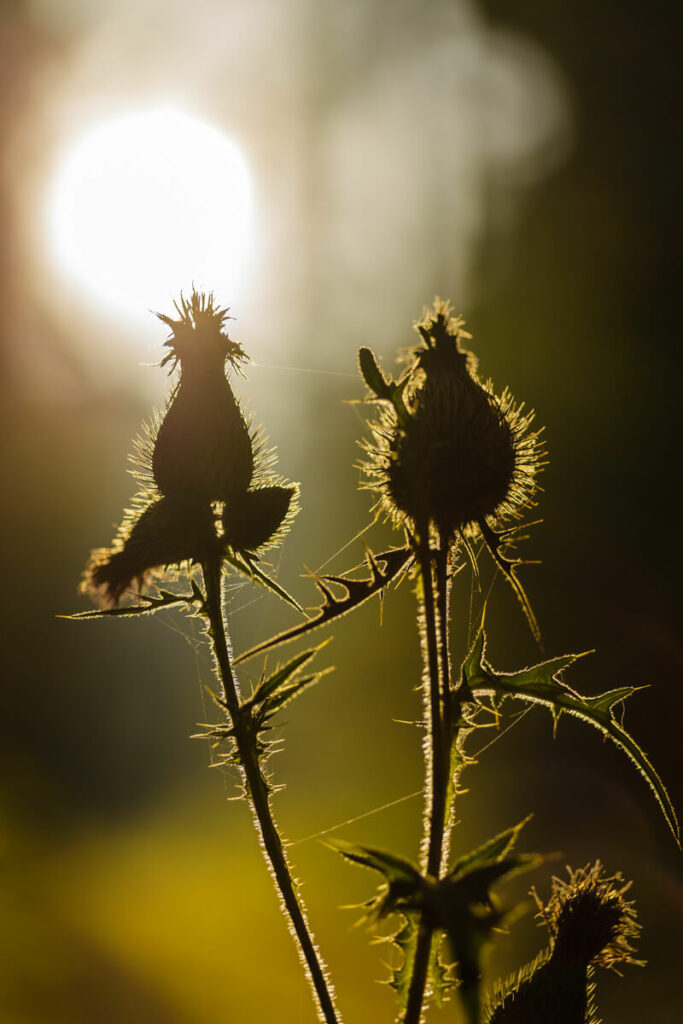
A few weeks ago, I managed to take a photo in which a forget-me-not was only recognizable as an outline. I had hoped to be able to create a similar photo with a different motif. Unfortunately, I didn’t succeed, but I still managed to take some really nice backlit pictures.
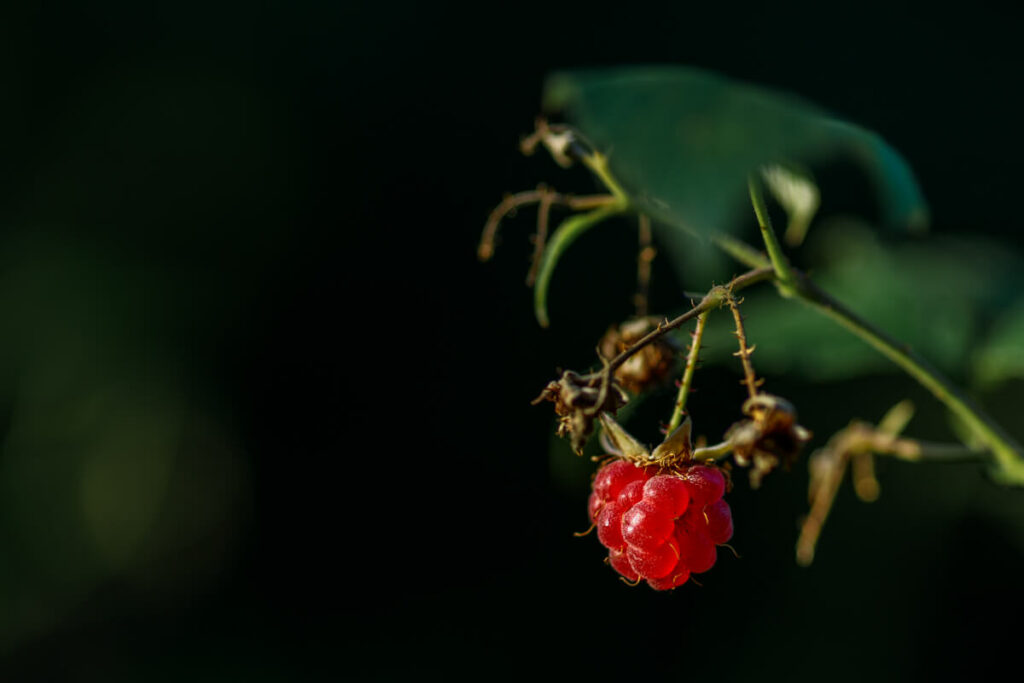
A little breakfast I also found! Wonderfully sweet raspberries that grew right on the edge of the path. The raspberries were just as sweet as they look in the picture! Unfortunately, the bush was very small and only four or five raspberries were growing. But who could have resisted this sight?
Forest photography in summer - change your perspective
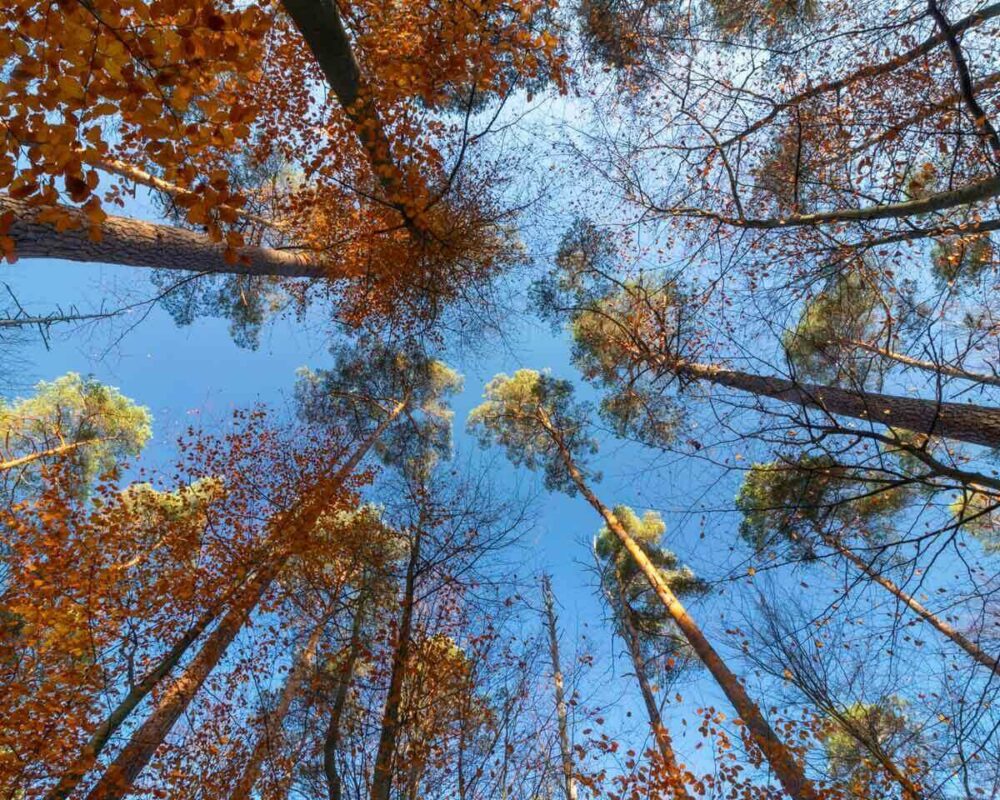
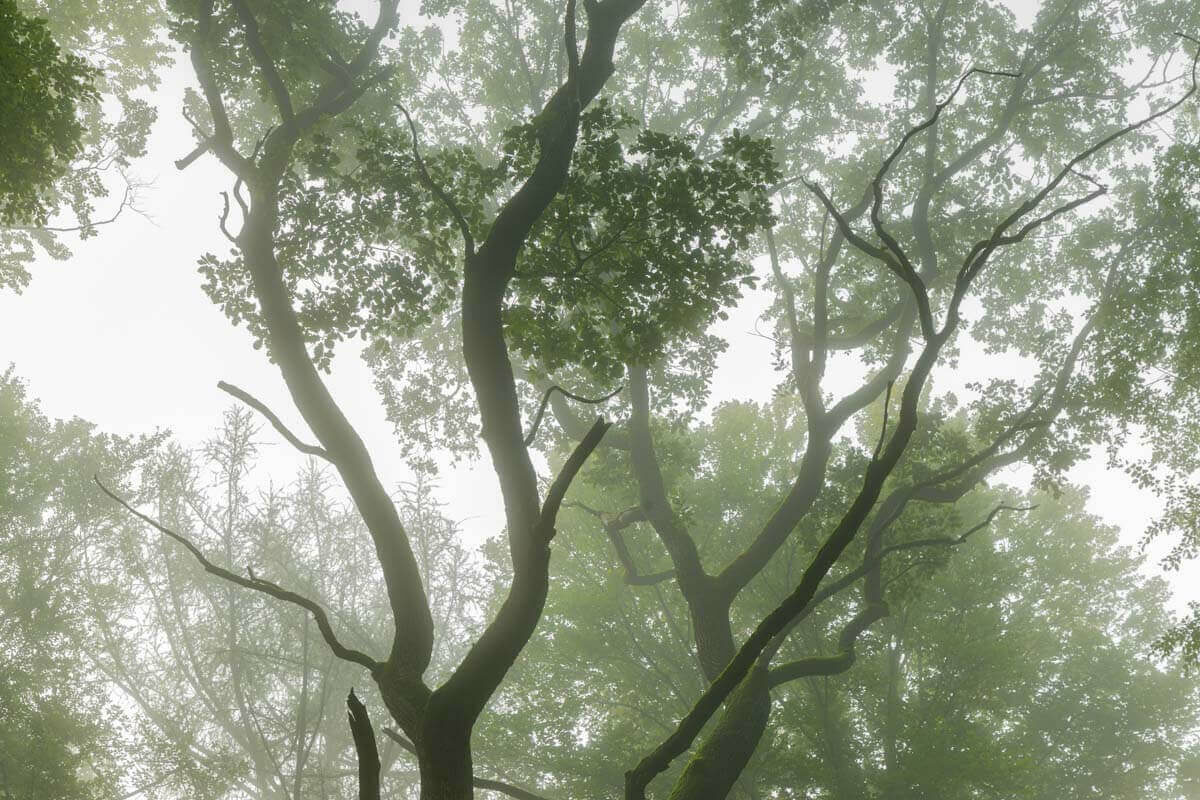
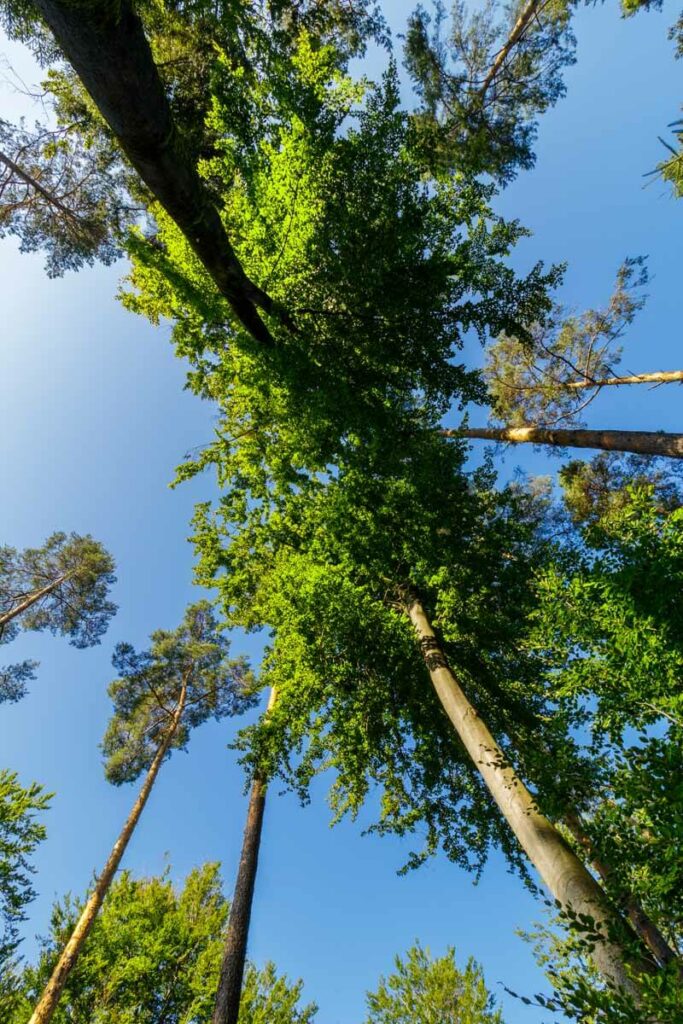
In the meantime, the sun was already a little higher. But even then, exciting photos can still be taken. A view upwards opens up completely new perspectives. And that’s what photography is all about, perspective. With my wide-angle lens, the view from below into the treetops looks much more impressive than with a standard lens.
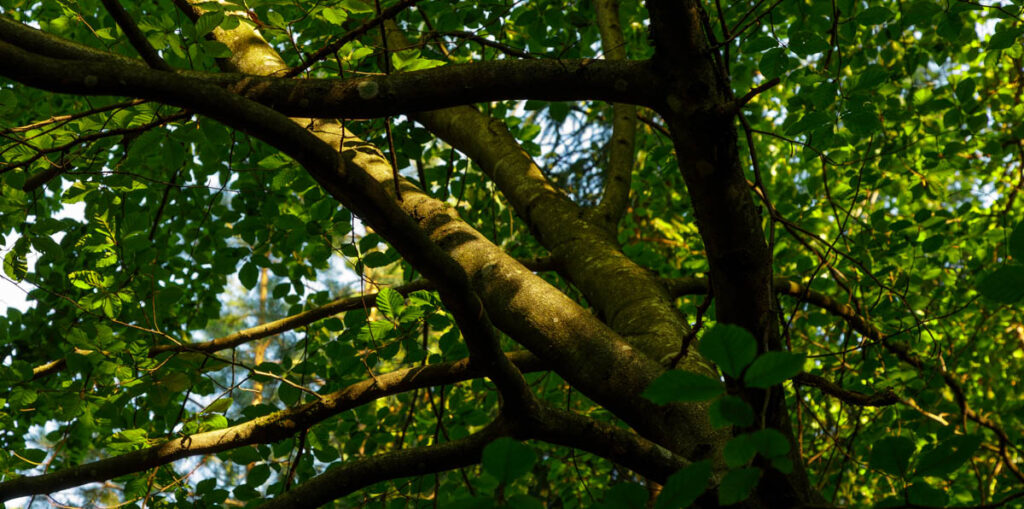
Details, on the other hand, can be shown better with my 24-105mm lens or even a telephoto lens. For this it is always worthwhile to take a look at the trees. Because sometimes the tree as a whole is not the most interesting subject, but its branches or bark. In this case, it seemed as if two dark branches framed the two lighter ones.
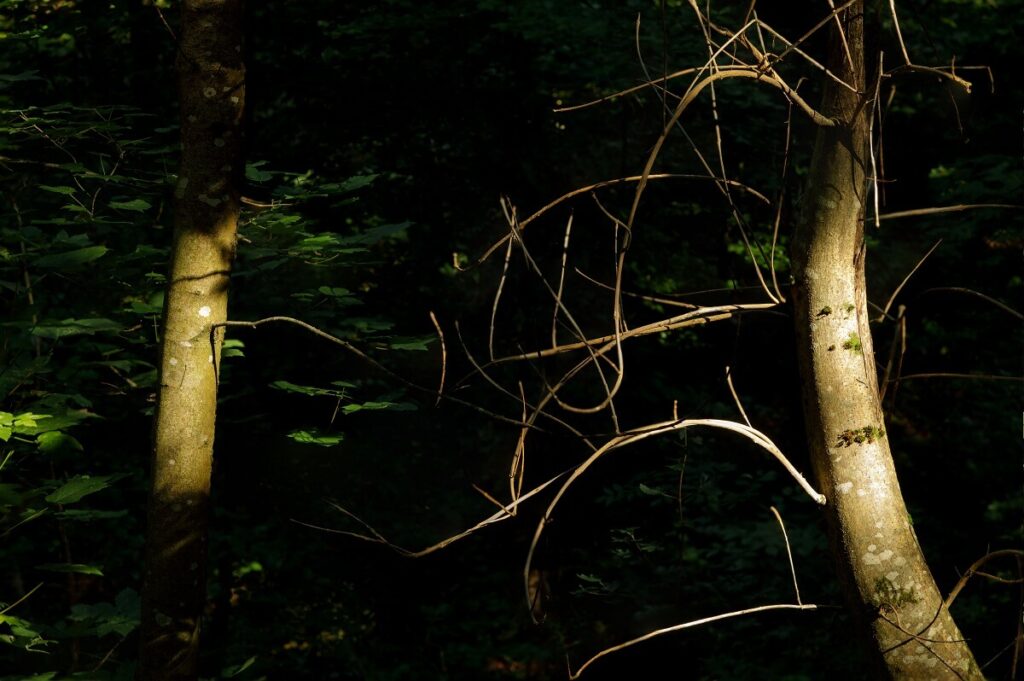
But at some point it was time for the way back. Especially because I know myself and know that I stop at every interesting motif. And indeed there was still the one or other opportunity to stop. Especially this leafless tree caught my eye. Illuminated by the warm sunlight it stood there. And after a short time another ray of light fell on the tree standing further back. So it seemed as if the two tree trunks were shining, while around them the leaves were still in the shade.
Tipps for better woodland photos in summer
If you want to shoot dramatic photos even in summer, you need to be in the forest appropriately early. In the last few months, I’ve often been in the woods at sunrise. That is really early. In our area, however, the forests are very mountainous, so the light is at its best 1-3 hours after sunrise. Find out for your forest when the light is best and set your alarm accordingly early (or late) next time.
Turn around more often! The light changes within seconds. A subject that was in shadow a moment ago may now be illuminated by the sun, and vice versa.
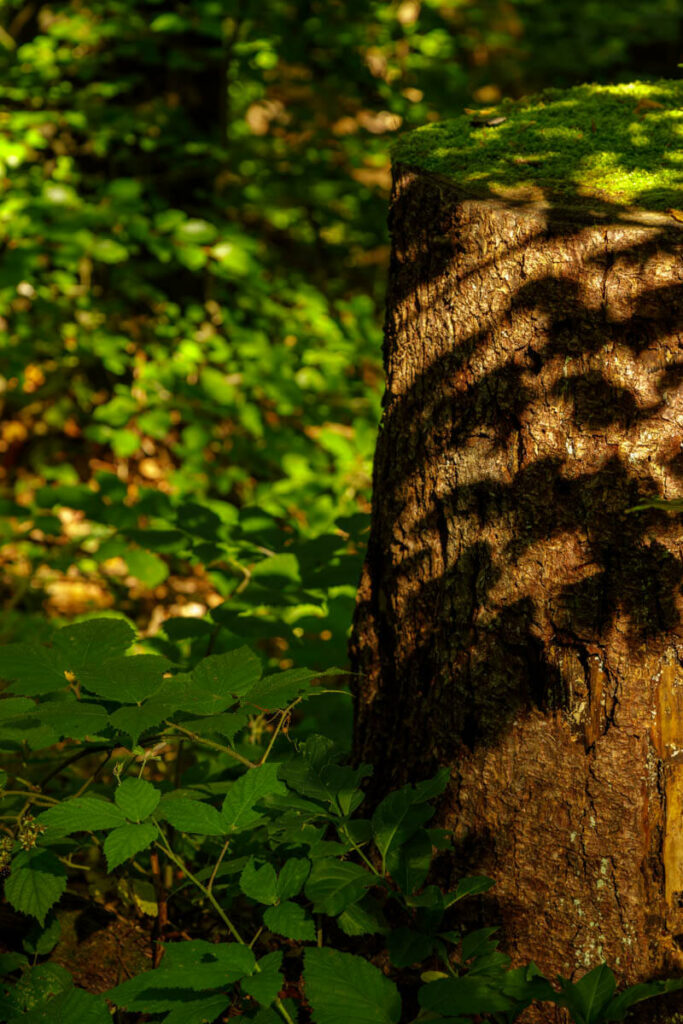
And if all else fails, take the opportunity to explore new forests. Find places you want to revisit in the rain or in the fall or winter and rehearse your composition. On the computer, see if your idea really works or if you’ve overlooked any distracting branches or trees.
Want more tips about forest photography? Then sign up directly for the newsletter. You will automatically be entered into the next competition and will receive an email from time to time with photo tips that are not available on my blog.
From September 2021 you can also learn more about forest photography in workshops in very small groups. If you don’t have any experience yet, but want to try photography or learn the basics of photography, I also have the right workshops for you. If you have any questions, just send me a message!
Best light wishes
Your Tanja
Melde dich zum Newsletter an und nimm automatisch am Gewinnspiel teil!
(Den Gewinn findest du bei den Teilnahmebedingunen)
Thank you!
You have successfully joined our subscriber list.
Frozen Waterfalls – Hoerschbachtal Waterfall in Murrhardt
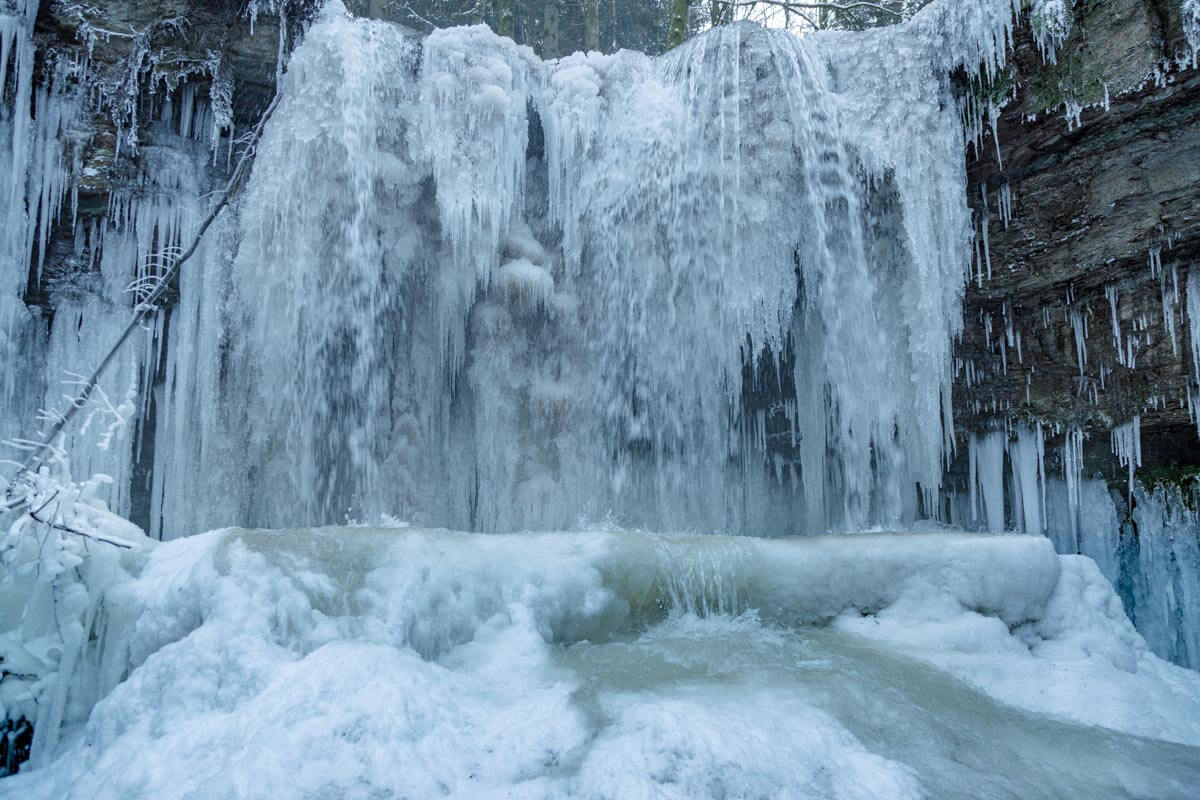
Siberian cold! -14 degrees! Instead of lying in bed, I set out to photograph a frozen waterfall on February 13, 2021. To get the most beautiful pictures possible, with as few people as possible, I wanted to be there before 8am. But that also meant getting up at 5:30. Saturday. My way should lead me to the Hörschbachtal waterfalls.
Photographing in freezing cold
I have prepared myself well. A thermos mug full of hot tea packed, a little something to eat, scarf, hat and gloves. And the thick winter coat, which I had almost mothballed. Oh yes, my camera too, of course. Plus the tripod and a spare battery. It should be light, because I had first considered also to hike to the rear Hörschbachtal waterfall. Especially when it is very cold outside, it is important to have enough batteries with you. They empty faster than you can look.
I set off shortly before 8 o’clock. From the parking lot of the Vorderer Wasserfall in the Hörschbach Valley, it is only a few meters to the stream that flows into the waterfall. Everything is full of snow. Beautiful! The morning sun bathes everything in a bluish, cold light. A wonderful mood, which is enhanced by the frosty air. More info on how to get there and beautiful pictures of the waterfalls in spring can also be found here: “Hoerschbachtal Waterfalls in Murrhardt“.
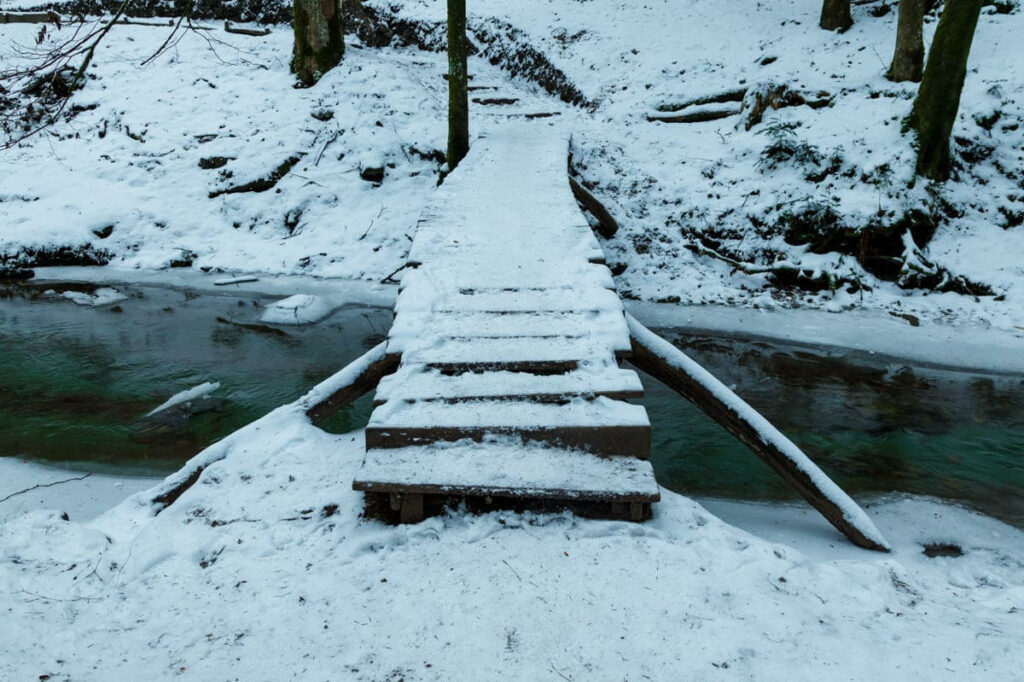
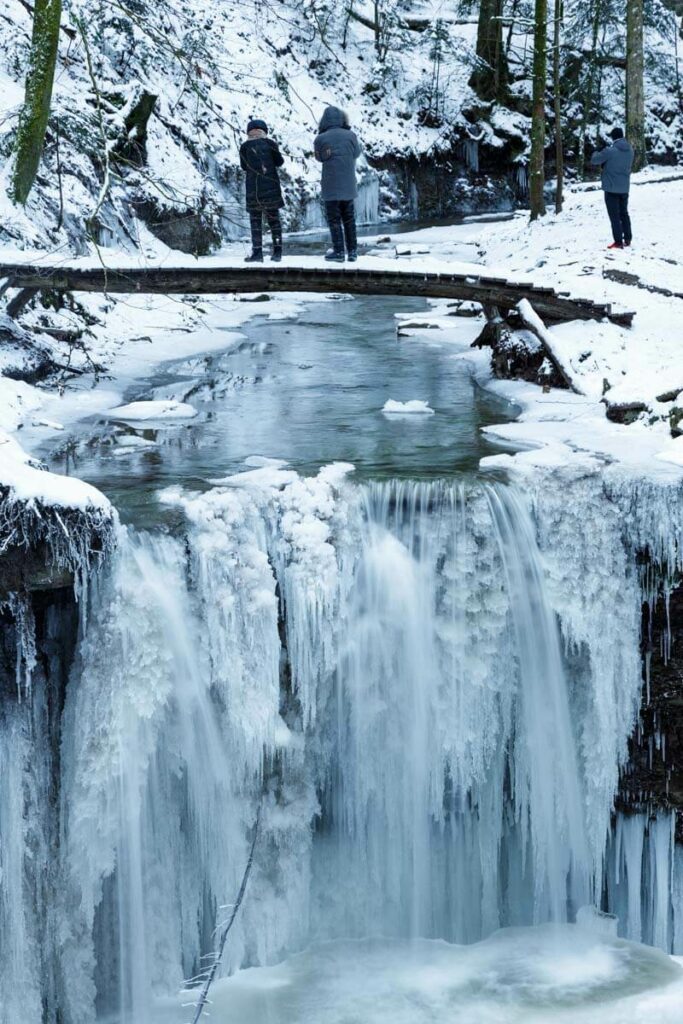
The small wooden bridge without railings does not look very trustworthy. Fortunately, it is not covered with ice, so that you can cross it safely. Deeply one would not fall anyway, but at -14 degrees that would be a cold awakening.
The descent to the front waterfall has it in itself. Much flattened snow. The path is not developed, only makeshift steps. Here you really have to be surefooted to descend in these conditions. But what does one not do everything for beautiful pictures? Besides, I put on my rain pants. So even if I would land on the Popo, it would be half so wild.
Frozen waterfall Hoerschbachtal
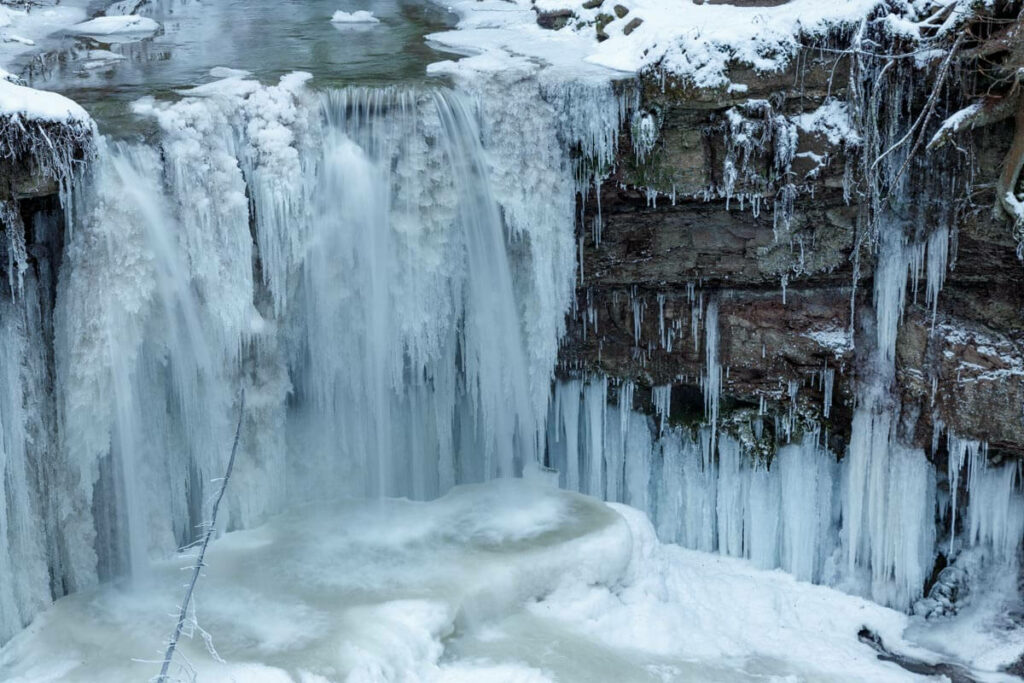
Slowly I climb down to the front waterfall. Due to the splashing water, there is a lot of ice here. I knew the Hörschbach Valley Waterfalls only from a trip in May. Now I seem to be in a completely different world. Icy blue. Icicles almost as big as I am. Leaning on my tripod, I slither down the last bit to the plain below the waterfall.
Another photographer is here, already daring the way onto the ice in the middle of the stream. Well, I now know where the ice is still too thin and I would also get wet feet. But everything will be fine, in the middle the ice is so thick that it could carry an elephant.
I enjoy the view of the waterfall. You don’t see something like that every day. Almost 5m the front waterfall falls over the step. Today, however, only little water arrives, most of it is frozen. Frozen to icicles.
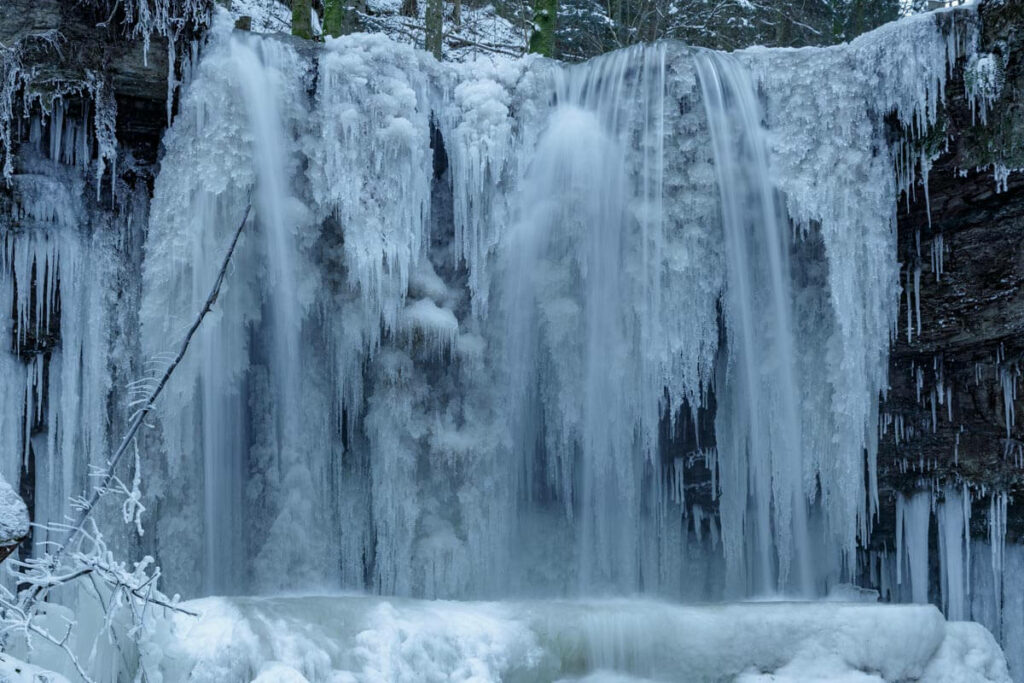
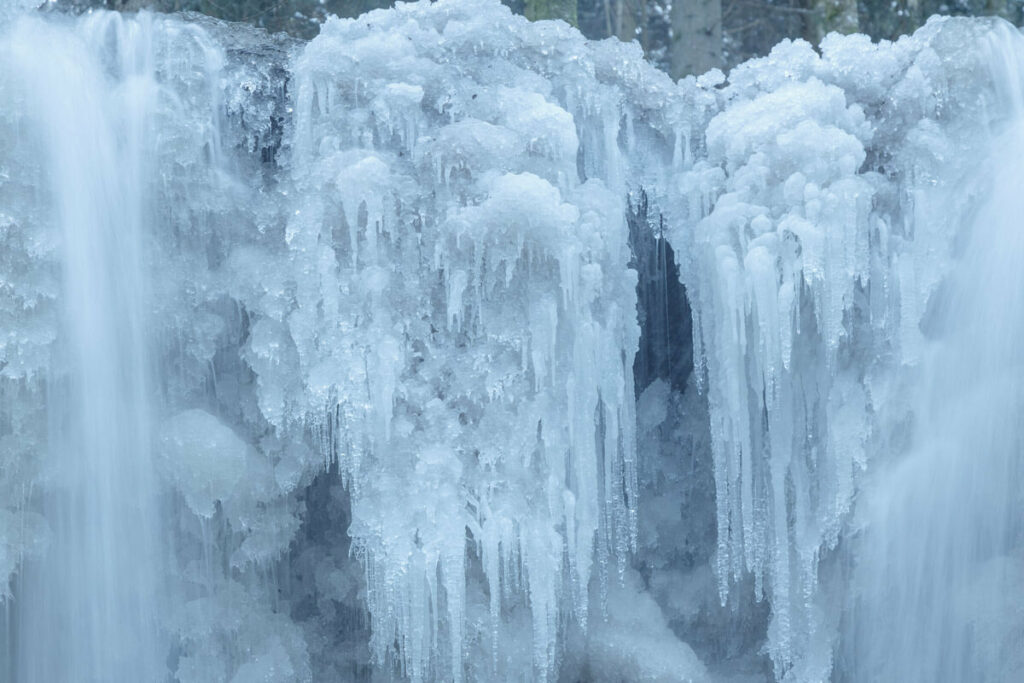
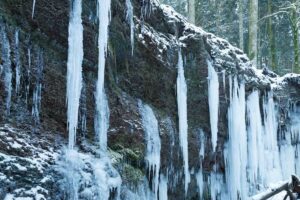
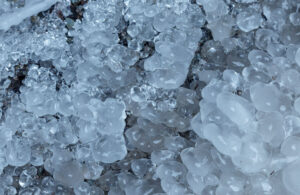
From here I have another great view of the frozen waterfall. Madness, how much ice is there! Meanwhile, more and more people come. It is not even 9 o’clock. What must be here only at 11 o’clock for a rush? I take some more pictures of the Vorderer Hörschbachtal waterfall and the bridge.
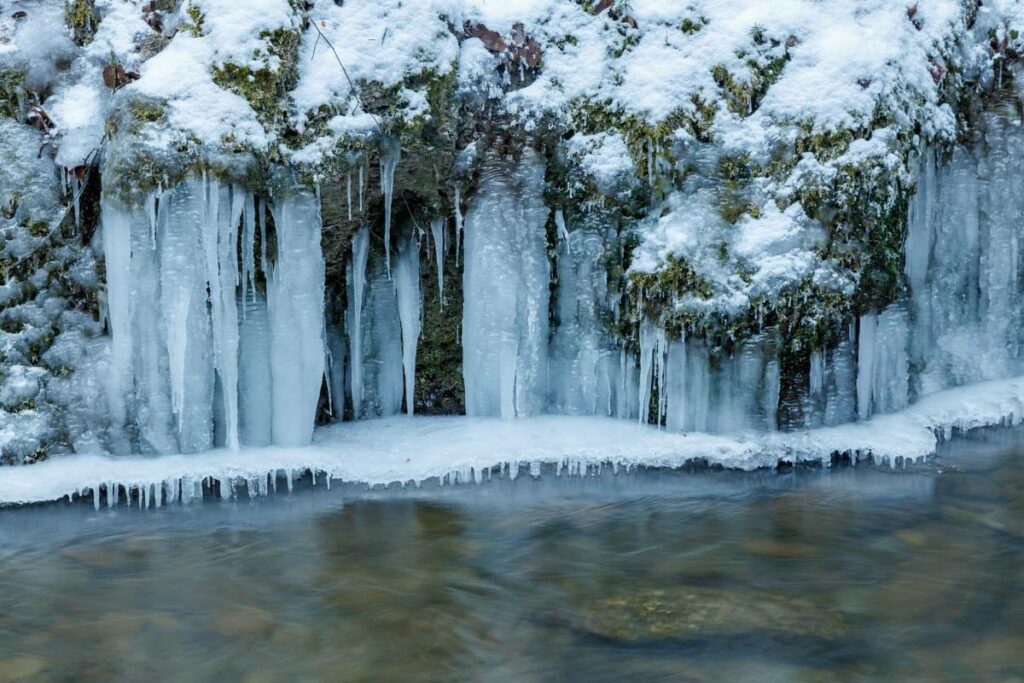
And my gaze falls on the icy stream bank. Before I move on, I take a closer look and find some very nice motifs here, too. Should I or should I not walk to the rear waterfall? The ice on my lens and the frozen legs of my tripod take me the decision. It is simply too cold. Now another 45-60 minutes of walking through the icy cold? The road is closed and the Hörschbachtalschlucht is out. So I would have to take the upper hiking trail.
In addition, my tea supply is also coming to an end. One hour in the cold was enough. Even though I will miss some great pictures, I decide to go home again. But I will be back. At the next Siberian cold. Or in spring after an extensive rain, when the waterfall has a lot of water. For sure!
Have you ever seen a frozen waterfall? When and where was it? Let me know about it in a comment!
Best light wishes
Your Tanja
5 camera settings for instantly better photos – not only in woodlands
Today it’s going to be a bit technical. But don’t worry, I’ll try to keep it as uncomplicated as possible. After all, it’s like cooking, you can make anything with a knife and a pot. But if you know and understand your tools, it gets a lot easier. And above all, better!
Here you will learn how you can make much better pictures with simple adjustments in the camera menu. Because even if modern cameras can already do a lot, reading minds is (fortunately!) not yet one of them. But that means you have to tell the camera what to do.
Yes, I’m a very big fan of post-processing myself. But the goal should always be to take the photo in the best possible way and to have to post-process as little as possible. But we can only achieve that with the optimal camera settings. But there is not always time to adjust all settings to every motif in the best possible way. For this reason, I’ll explain how I set up my camera to get the best possible results in most situations.
But before I go further into the settings, I’ll briefly explain the different programs on your camera. Because they are also important for even more beautiful forest photos.
The most important camera programs briefly explained
Program Mode
P is the Program Mode for most manufacturers (I hope this is also true for non-German cameras). The camera calculates everything automatically. The aperture, shutter speed and iso are set by the camera. You only have to press the shutter button. The main difference to the “Auto” mode (usually shown as green camera) is that you can make small changes if necessary. To do this, you simply turn the wheel with which you make the settings.
On older models, you could shoot in RAW in P, but not in Auto mode. Today you can shoot in RAW in both modes. You can choose Program Mode if you don’t want to worry about the settings. For snapshots, the setting is quite OK, but if you really want to take ambitious photos, then you can safely forget that your camera has a program automatic.
Semi-automatic modes
By now, every camera has semi-automatic modes. You specify a certain value (time or aperture) and the camera calculates the appropriate equivalent. My recommendation for beginners is to start using the semi-automatic programs right away. After a short time you will understand the relationship between aperture and shutter speed and can then easily switch to manual mode.
But I myself use the semi-automatic mode about 80-90% of the time. With my Canon 80d it works very well so far. It rarely happens that I am not satisfied with a result. Then I sometimes switch to M (manual).
T/Tv/S: Shutter priority or time preselection
S at Nikon camera and Tv (Time Value) at Canon means that you specify the exposure time. Your camera then automatically calculates the appropriate aperture. You use the shutter priority mode for example, when you absolutely need a slow or fast shutter speed.
This can be the case if you want to shoot a stream in the forest so that the water looks “flowing”. Or if it’s very windy and you don’t want any motion blur in the subject, so you need a very fast shutter speed.
A/Av: Aperture Priority
Aperture priority is basically the opposite of shutter priority. In A or Av mode, you determine how wide the aperture of the lens is opened and how much light should fall on the lens. The camera calculates how long it takes for the image to be correctly exposed.
You use the aperture to determine how much of your image should be in focus. With a large aperture (small number!), a lot of light falls in, but the area that becomes sharp is relatively small. With a small aperture (large number), it’s the other way around.
In der Landschaftsfotografie nutzt du meistens eine kleine Blende, um ausreichend Schärfentiefe zu bekommen. Die meisten Objektive sind bei einer Blende von 8 bis 11 am schärfsten. Das bedeutet aber nicht, dass du nicht auch einmal eine Blende 16 oder gar 22 verwenden kannst. Allerdings verlieren viele Objektive hier wieder an Abbildungsleistung. Möglicherweise gehen dir dann einige Details verloren. Schlimmstenfalls wirkt dein Bild „matschig“. Welche Blendenzahl bei dir die beste Leistung liefert, musst du für jedes Objektiv
M: Manueller Modus
Im „Manuellen Modus“ tut die Kamera genau das, was du ihr sagst. Nicht mehr und nicht weniger. Wenn du ihr sagst, dass sie 1“ (Sekunde) bei Blende f2.8 belichten soll, dann tut sie es auch. Du bist der Herr über die Kamera und gibst alle Einstellungen vor.
Wann du M benutzt? Am besten immer. Nein, Spaß beiseite. Ich nutze den Manuellen Modus, wenn ich bei einbestimmten Blendenwahl eine bestimmte Belichtungsdauer haben will. Meine persönliche Meinung ist aber, dass man meistens mit AV oder TV in der Waldfotografie auskommt. Du siehst das anders? Dann schreibe mir doch dazu einen Kommentar, wieso du dieser Aussage nicht zustimmst.
Kameraeinstellungen – die Grundlagen
1. Begrenze den maximalen ISO-Wert
Wenn du den ISO-Wert deiner Kamera nicht begrenzt, wird sie in der ISO-Automatik den jeweils besten ISO wert auswählen. In der Woodland Fotografie hast du nur selten bewegte Motive. Von daher hast du in der Regel Zeit, den ISO-Wert passend einzustellen. In der Woodland Fotografie sollte er möglichst klein gehalten werden.
Manchmal aber willst du eine bestimmte Blende und eine bestimmte Zeitvorgabe einstellen. Das ist unter anderem dann der Fall, wenn du Vögel oder andere Waldtiere, die sich schnell bewegen, ablichten willst. Dann kann es notwendig sein, den ISO-Wert zu erhöhen. Entweder du stellst ihn manuell ein oder du lässt die Kamera den idealen ISO-Wert berechnen.
Jede Kamera hat ein anderes Rauschverhalten. Manche Modelle liefern noch bei ISO 3200 sehr gute Qualität, andere sind bei ISO 1000 schon überfordert und dein Bild wird verrauscht. Mit der Begrenzung auf den für deine Kamera noch akzeptablen ISO-Wert verhinderst du, dass du deine Bilder mit zu hohem Rauschen bekommst.
2. Belichtungskorrektur erhöhen
Je heller ein Bild aufgenommen wird, umso mehr Informationen beinhaltet es. Natürlich darf es nicht überleichtet sein, dann verkehrt sich der Effekt wieder ins Gegenteil. In den Modi AV und TV kannst du eine Belichtungskorrektur vornehmen.
Im Wald sollte deine Belichtungskorrektur immer etwa 1/3 bis 2/3 Blenden erhöht sein. Dadurch wird das Bild nochmal einen Tacken heller. Das kann am Ende über Erfolg und Misserfolg eines Bildes entscheiden. Im Modus M ist die Belichtungskorrektur nicht möglich. Hier regelst du die Belichtungszeit über die Belichtungsdauer.
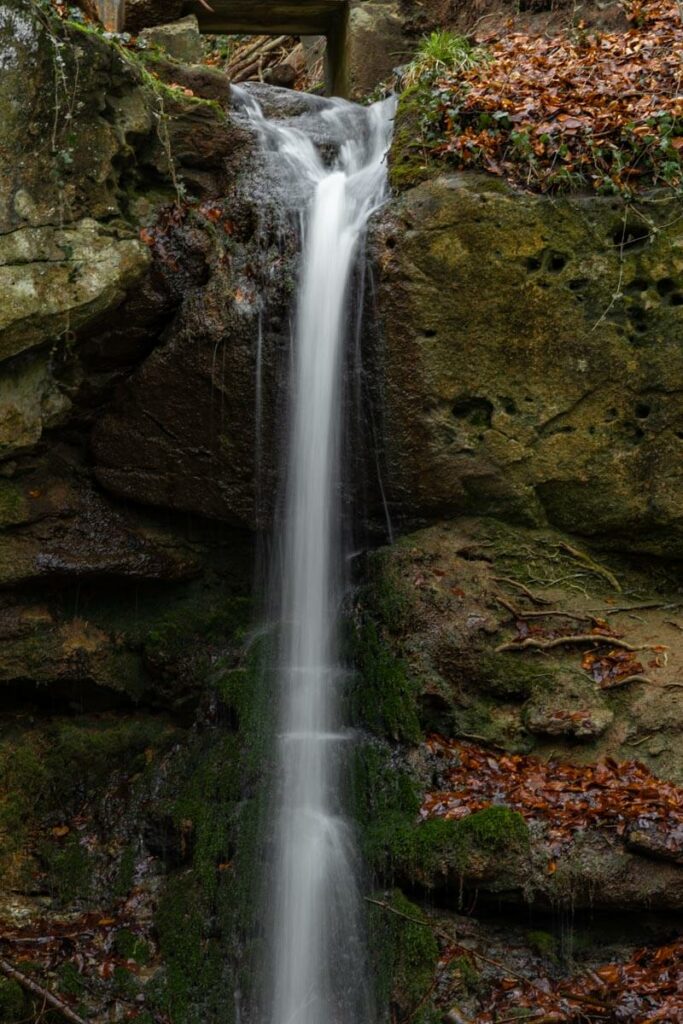
Pro-Tipp: Über die Manuelle Belichtungskorrektur kannst du eine etwas längere Belichtungszeit einstellen, ohne einen Graufilter zu benutzen. Diesen Effekt kannst du beispielsweise verwenden, um fließende Gewässer aufzunehmen.
3. Weißabgleich
Natürlich kannst du den Weißabgleich in Lightroom jederzeit anpassen. Im Wald steht mein Weißabgleich aber auf „bewölkt“. Das führt meistens zu etwas wärmeren Farben. Alternativ lässt du ihn doch auf „automatisch“ stehen und korrigierst ihn während deiner Nachbearbeitung.
4. Autofokus-Betrieb auf One Shot
One Shot (bei Nikon: AF- Einzelautofokus) ist die ideale Einstellung für unbewegte Motive. Falls du nicht im Live-View Modus fotografierst, sondern durch den Sucher, ist das die beste Einstellung für deine Waldfotos.
5. Die beste Messmethode
Es gibt verschiedene Messmethoden, mit der die Kamera die Belichtung errechnet. Im Wald nutze ich meistens die Mehrfeldmessung. Dabei wird beinahe die gesamte Motivfläche erfasst und die ideale Belichtung berechnet.
6. Bildqualität
Ich fotografiere immer in RAW. Wenn du hinterher deine Bilder bearbeitest, gibt dir das die meisten Möglichkeiten. Auch wenn du heute deine Bilder nicht bearbeiten magst, du weißt nicht, wie es in der Zukunft aussieht. Deshalb ist meine Empfehlung, auf jeden Fall in RAW zu fotografieren. Falls du unsicher bist oder wenig Zeit zur Bearbeitung hast spricht aber nichts dagegen, deine Bilder zusätzlich auch JPEG aufzunehmen.
Mit diesen Kameraeinstellungen hast du die Grundlage gelegt, um in möglichst vielen Situationen gute Ergebnisse zu erzielen. Aber nicht vergessen, das hier ist kein eierlegende Wollmilchsau-Leitfaden! Es wird immer Situationen geben, wo du deine Einstellungen anpassen musst. Vieles kannst du aber auch im Nachgang über das Bildbearbeitungsprogramm deiner Wahl erreichen.
Das soll es an dieser Stelle gewesen sein. Bitte berichte mir von deinen Erfolgen mit den angepassten Kameraeinstellungen. Auf Instagram kannst du mich auch unter @woodlandphotography.de taggen.
Allzeit bestes Licht wünscht,
deine Tanja
Woodland Photography – the art of photographing forests
Woodland Photography or, how do you photograph trees, treescapes or forests properly? Photographing forests sounds easier than it actually is. Because of all the trees, it’s often not that easy. Many forest photos just look jarring and fail to capture the true beauty of the forest. But with the tips you’ll find on this blog, you too will succeed in taking beautiful forest photos.
What is Woodland Photography?
Woodland Photography is a niche in landscape photography. Woodland means “land covered with trees”. So land that is covered with trees. By and large, it can also be translated very broadly as forest photography. Beyond that, however, it often includes photographs of single trees or small arboreal landscapes.
You don’t necessarily have to photograph whole trees, though. Photos of branches, tree stumps or parts of a tree also fall under the term “Woodland Photography”. My personal definition goes a bit further. For me, Woodland Photography includes everything that has to do directly or indirectly with forests and trees. In my eyes this also includes animals, plants and mushrooms. That’s why you will always see macro shots or animal pictures on my website.
To me Woodland Photography is everything related to trees – in whole or parts of it – as main motif or what lives in and around the forest.
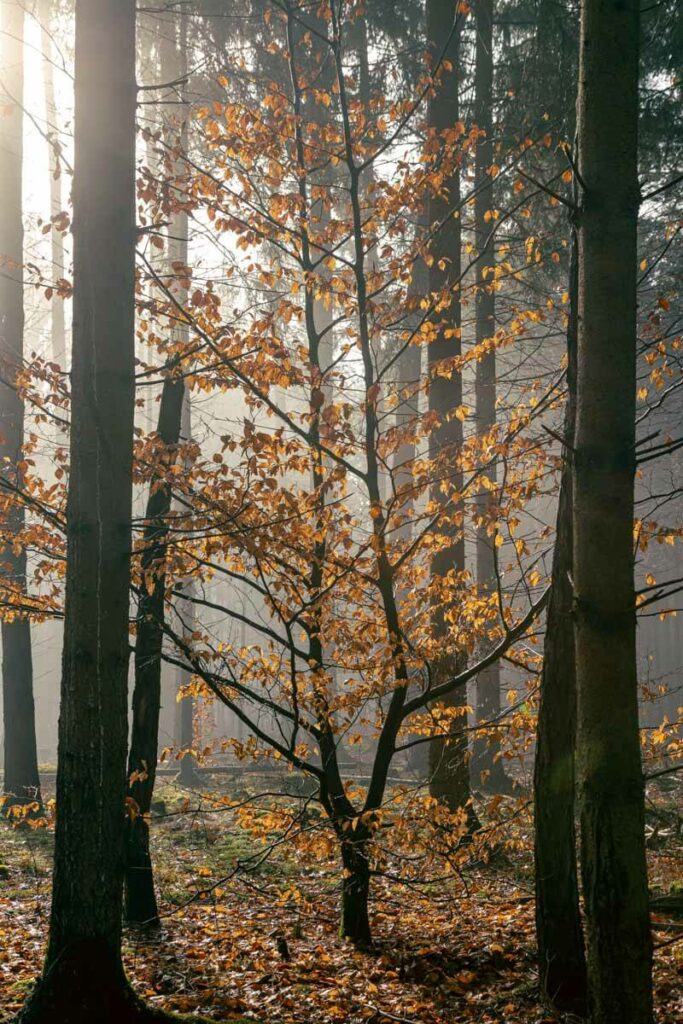
What makes woodland photography so special
For some photographers, forest photography is the pinnacle of landscape photography. Finding the perfect composition in the chaos of the forest, using the weather to your advantage, or making the most of the often sparse light in the forest. That’s what makes forest photography so special for many.
In addition, forest photography is very diverse. Treescapes, details, macros, there is so much to photograph when it comes to Woodland Photography.
For me, photographing in the woods is the most beautiful and relaxing thing there is. I love being in the woods early in the morning when everything is slowly waking up. The quietness there is just so good for you. Especially in times like the current corona crisis, I can forget all my worries there. And no matter how often I walk the same path, visit the same place in the forest, I find something new every time I visit.
Woodland Photography Challenges
As mentioned earlier, this is a niche of landscape photography. For many photographers, forest photography is one step more difficult than pure landscape photography. It is often not so easy to highlight motifs in the chaos of the forest. Many forest photos look restless because they do not have a clear image composition. Often the view is also distracted from the actual main motif by other trees or branches. If the photographer has managed to define one at all.
In addition, there are often difficult lighting conditions. It is too dark, the light does not fall at the right angle or the sky seems too bright in relation to the too dark trees.
So that your Woodland photos in the future also have the special something and are noticeably different from the snapshots of the walkers, I want to talk in the next few weeks about the basics of forest photography. I will explain what equipment you absolutely need and what is “nice to have”. Later, I’ll go into individual topics, such as finding composition or shooting details without a macro lens. But let’s start with the two most important things that will determine the success or failure of your photo tour.
Woodland Photography – the forest
I recently saw a video by Gary Gough on YouTube. And what he says there is as simple as it is true. Namely, he says that the most important thing for good photos is the right forest. If you’re not getting good forest photos (even though you’ve mastered your camera and understand the basics of forest photography), it may be because the forest just doesn’t have character. Sounds totally obvious, but: what exactly is a forest with character?
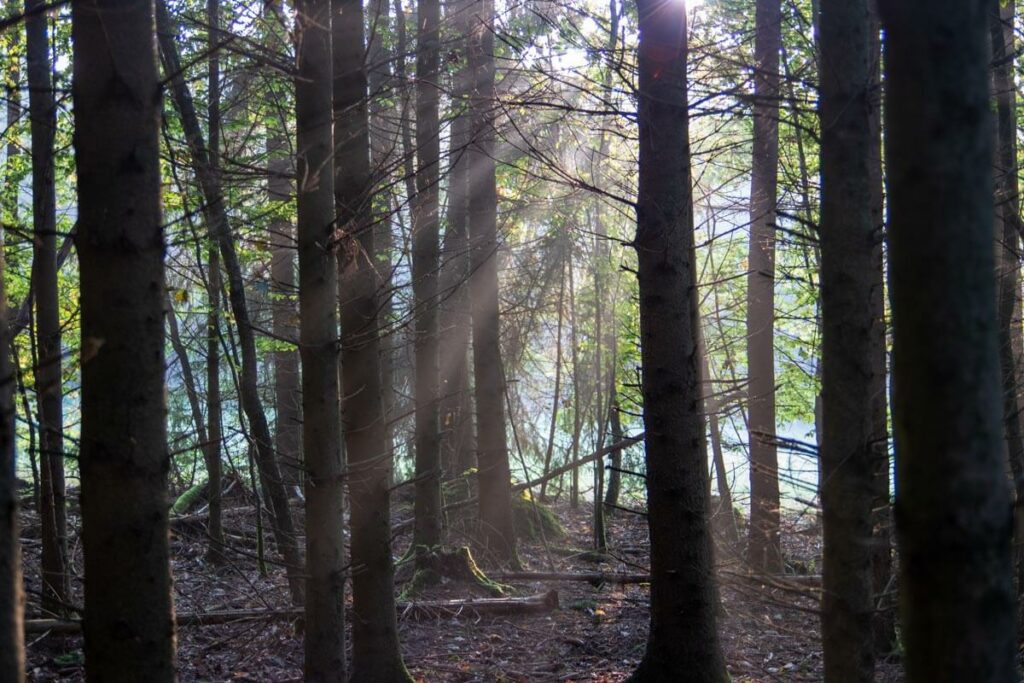
Forest with character for me is
For me, a forest with character is an old forest with many different trees of different ages. In my eyes, mixed forests are the most beautiful. But also in forests with only one or a few tree species you can find beautiful compositions. In any case, it’s important that it’s not one of those commercial forests where all the trees stand in rows or grow straight up into the sky.
Personally, I think you can feel if a forest has character. Somehow not every forest has the same flair and doesn’t trigger the same feelings in you. Recently I was in another forest, where I am otherwise rather rare. And after not even 5 minutes I turned back because I saw nothing interesting and something was missing. It just doesn’t have the right flair for me to stay there longer.
Ultimately, you decide for yourself whether you like a forest and whether you find beautiful motifs there or not.
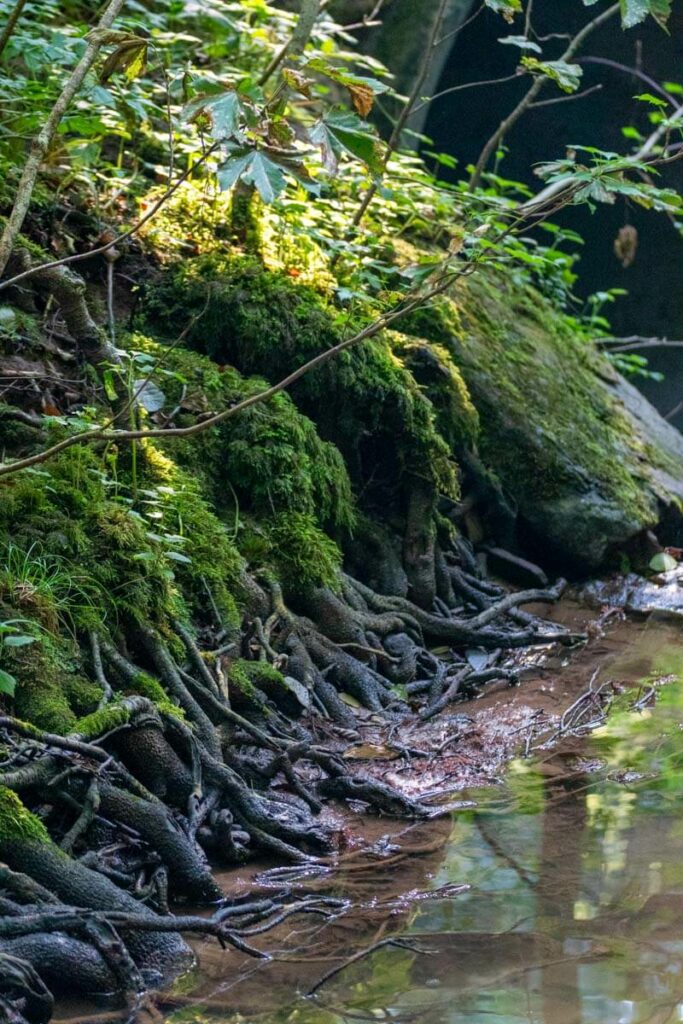
Woodland Photography – you need time
It’s seldom done with “a quick shot” in photography anyway. This is even more true if you want to take pictures in nature. If you want to take more than a few snapshots during a Sunday stroll, time is of the essence.
The light in the forest is constantly changing. You can visit the same spot multiple times and never find the same conditions. Of course, this is true for any type of landscape and nature photography. Which is why this point is universally applicable to all the different disciplines.
But unlike studio photography, where you can influence the light 100%, or travel photography, where you often have very little time on location, you have a distinct advantage in your forest at home. You can visit it at any time of the year or day. And you can always come back if the light or the mood doesn’t suit you.
Take your time and stay longer in one place. Look at it closely, how does the light fall in the morning or afternoon? How on a sunny day and how on a foggy day? Only if you take enough time to look around calmly, you will succeed with time good photos.
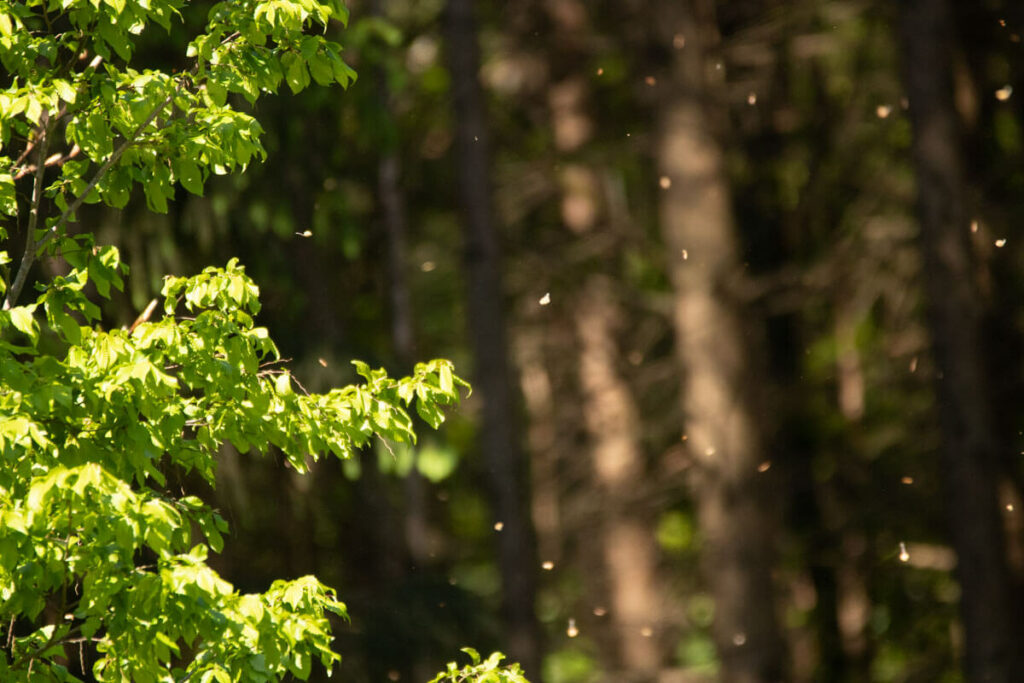
Tips for Woodland photography
Over the next few months, there will be some new blog posts here that deal with individual topics in more detail. But in this post, you’ll find a brief summary of the six most important points that will help you take better forest photos right away.
1. Gear matters, but it is not everything
Whether you shoot with a cheap beginner camera or an expensive professional camera, the equipment alone is no guarantee for good photos. Therefore, don’t stress so much in the beginning about which camera or lens you should buy.
For the beginning, the best camera is the one you have right now. I personally don’t recommend using a cell phone as your only camera. But the cell phone helps you to find the right composition faster. Only a tripod is an absolute must for good photos in the forest, even (and especially!) if you are just starting to photograph.
2. Best camera settings
I go into more detail here about the most important camera settings for forest photos. But I would like to give you some important tips here in brief:
If you are not yet working in Manual mode and set many or all settings to “Auto”, limit your ISO values! Every camera has a different noise behavior. Find out up to which ISO value your camera still delivers acceptable images before the quality suffers too much. Then go into the camera settings and limit your ISO to that value or a slightly lower value. That way you can be sure you won’t have too much noise in your images.
The autofocus setting for me is set to “One Shot” (Canon) or AF-S (Nikon) for landscape or macro shots. That’s the optimal setting for subjects that aren’t moving. And since we’re not in Middle Earth, we don’t have to worry about our trees suddenly getting legs and running away. If they do, give me a call!
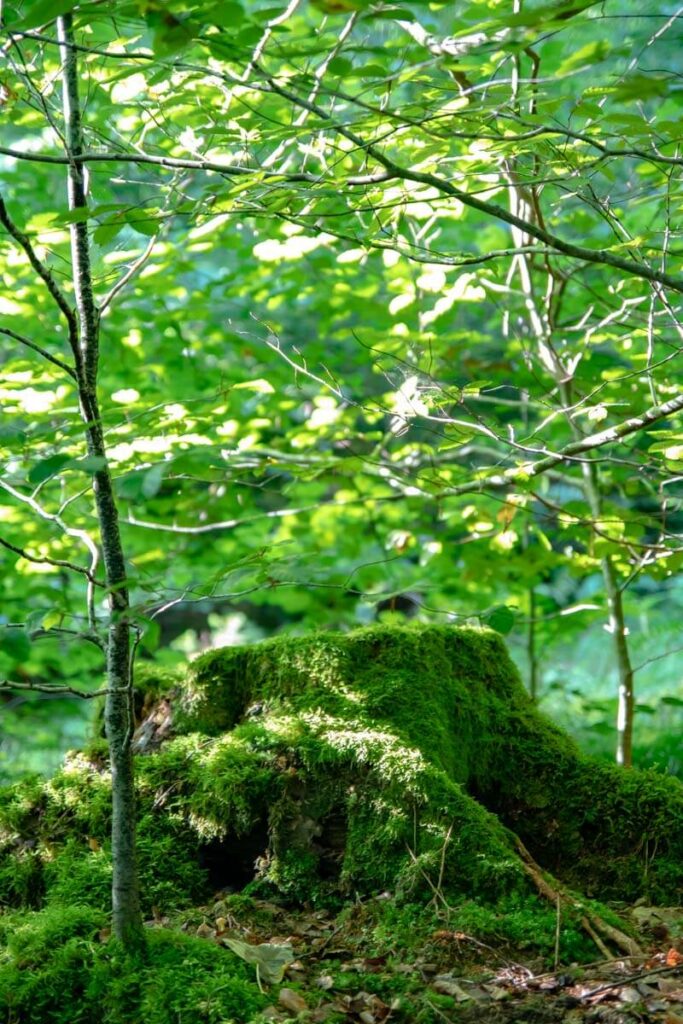
When selecting the measuring fields, I prefer the “Manual measuring field selection” or zone selection. I don’t use the fully automatic AF point selection, where the camera itself decides what to focus on and what not. I also rarely use the large and small zone selections. With both settings you limit the area in which the camera automatically focuses. If you want to have full control over the focus point, you select a single metering area.
You can set the white balance to either automatic or cloudy. For me it is always set to cloudy. You can adjust the setting afterwards in Lightroom.
If you’re using a tripod and don’t have a remote shutter release (or don’t have the right app to go to your camera), don’t forget to set a timer! You use the tripod to avoid camera shake. However, when you press the shutter button on your camera, you’ll have micro-shake. So use the delayed release to minimize this. Again, you’re shooting a still subject and have plenty of time.
3. The right light decides the effect
As you surely know, the right light is very important for the image effect. In the forest, you are somewhat less affected by the high sun than in the open field. Nevertheless, the light has an effect here, too, of course. Especially in the first bright hours of the day and in the last hours before sunset, the light is at its best.
Try it once, go to your favorite forest at different times of the day and photograph the same spot in different light conditions. You will immediately see how the effect of the subject changes, even though you always photograph the same thing.
4. The format can determine success and failure
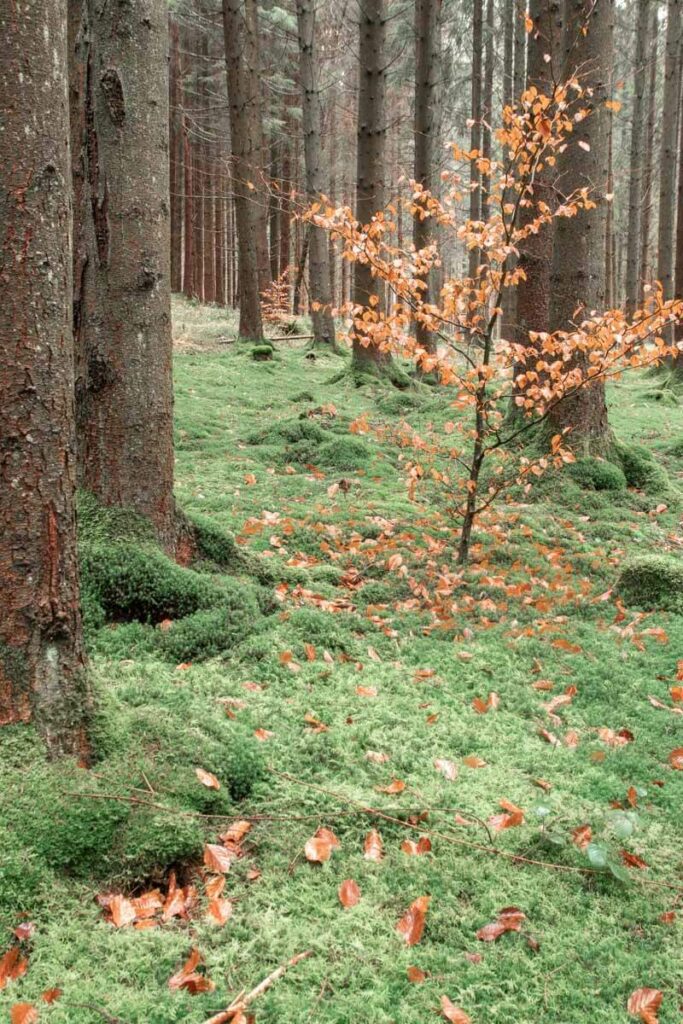
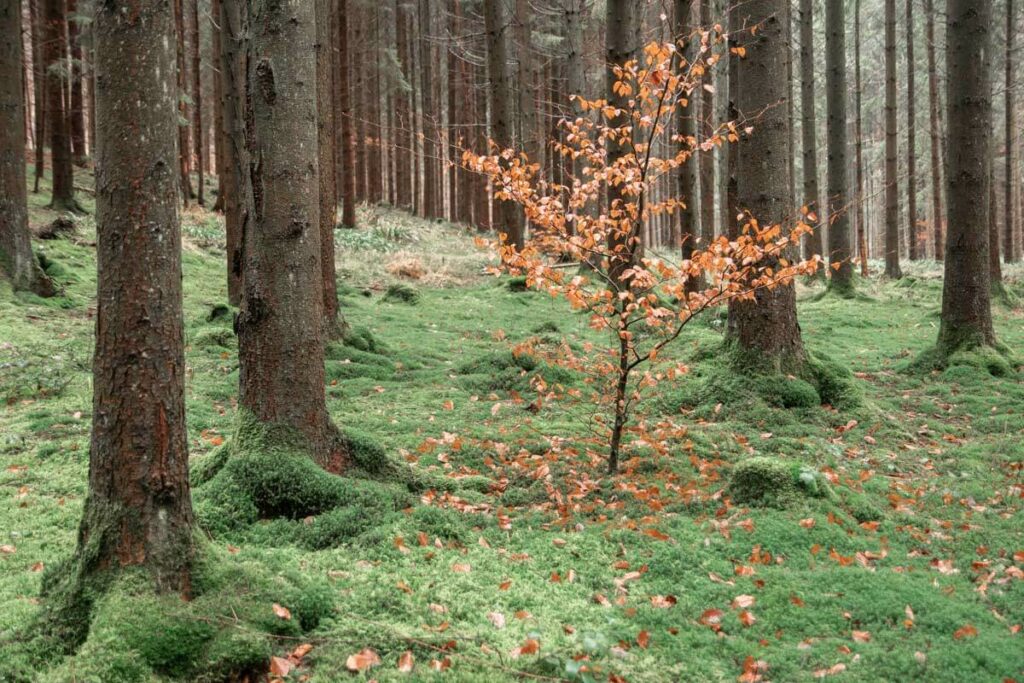
The camera is designed to be held most comfortably horizontally. This means the long sides of your photo are up and down (landscape format). However, some subjects look much better in portrait format. If you are unsure, just try both formats.
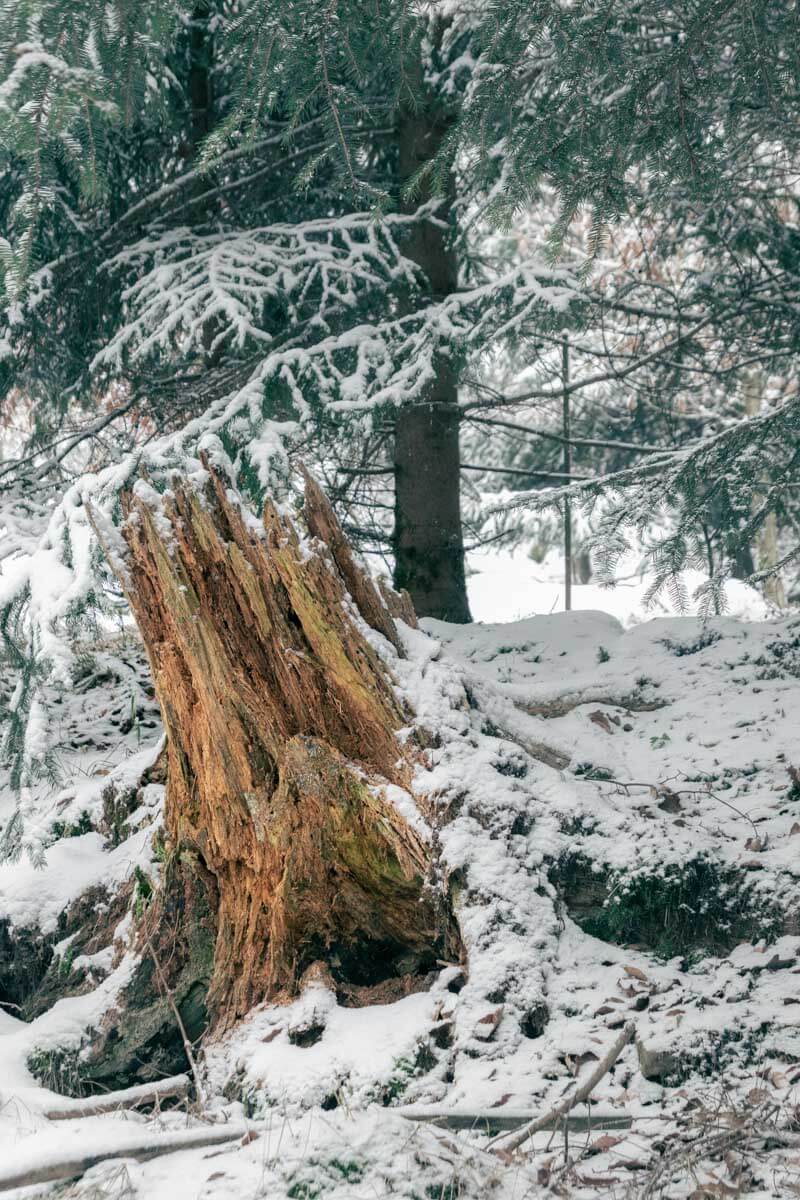
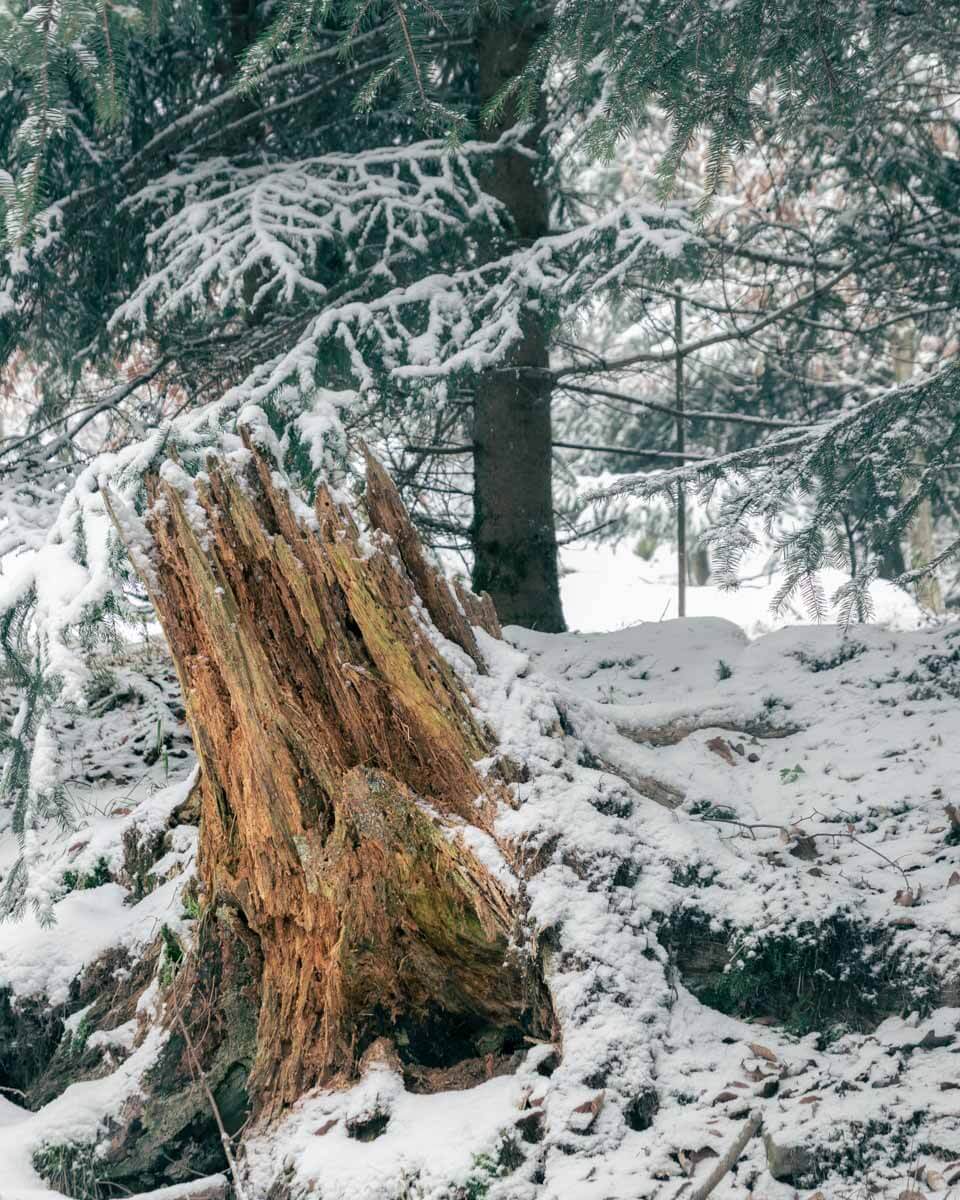
Below you see the same tree, the same subject with the same processing. Do you like it better in portrait or landscape format and why?
5. Omit!
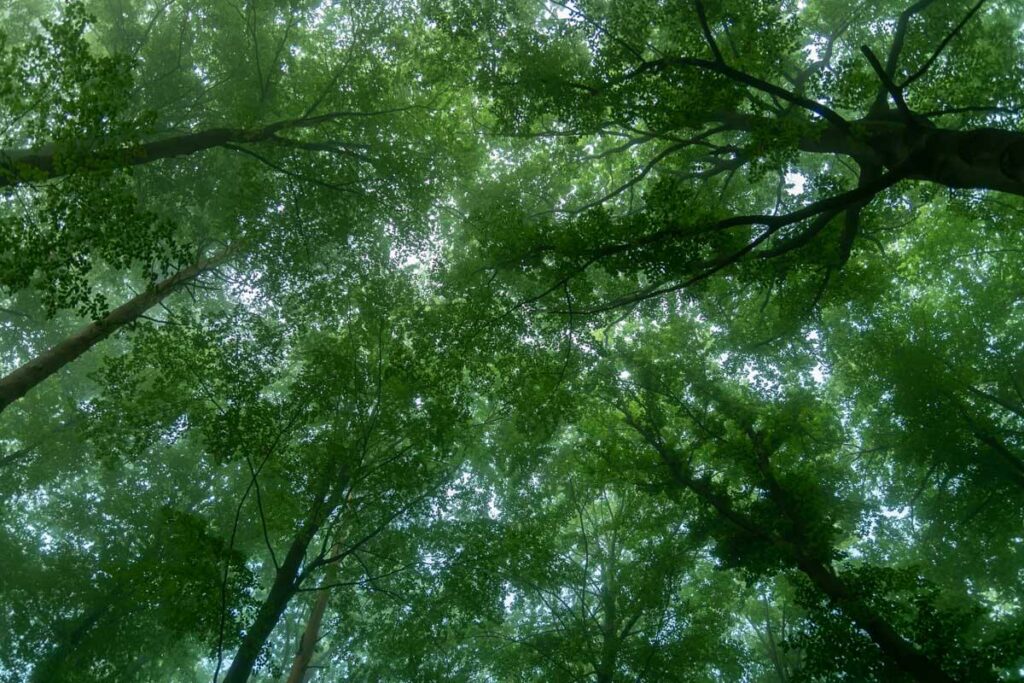
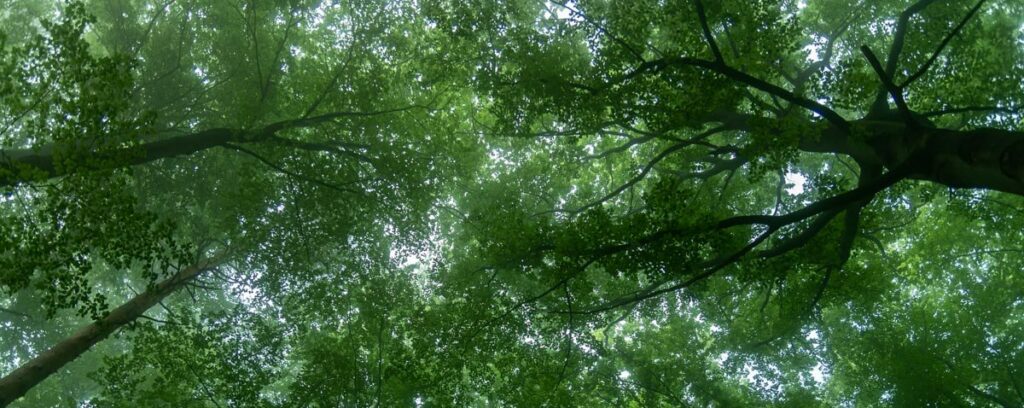
When photographing, what you leave out is just as important as what you take in. A branch at the edge of the picture distracts too much from the center of the image. Tufts of grass in the foreground? Can be very distracting. Cut trees? The image looks broken. Below are some images where I haven’t really paid attention to how I design my image.
If you notice such pictures at home, you can often save them with the help of Lightroom and Co. by cropping them (cutting away certain parts of the picture).
6. Postprocessing
Which brings us to the next point. Even absolute professionals who make their living from photography and have done nothing else for years, edit their photos. In many photography groups I read again and again “I don’t post-process my pictures”. That’s fine, but it doesn’t do you any favors. Almost every image needs post processing.
Whether it’s boosting the depths or darkening highlights, adjusting the color intensity or sharpening. Maybe you want to straighten the horizon or remove a disturbing image element. Something can always be optimized. Whether you use Lightroom, Photoshop, Luminar or Gimp is up to you.
Here you can see very nicely that the original was pretty good in itself. However, it was a little too dark in places.
I emphasized the depths and lowered the highlights. I also turned down the dynamics, reduced the saturation of the yellow and highlighted the orange. Finally, I applied the lens correction. That was it. Despite minimal post-processing, it immediately looks much more lively.


Woodland Photography – Success not guaranteed
Landscape photography, and for me even more so forest photography, is not a hunt for the perfect photo. The perfect photo is a reward that you won’t get on every one of your photography trips. Even though you will learn a lot over the next few weeks, there will always be days when you come home with only one good picture, or even none at all.
But it doesn’t matter. Even the photographers who make their living doing this often enough come back empty handed. But much more important is the experience. Soaking up the peace and beauty of nature. Forest photography is like almost everything else in life: The more pressure you put on yourself, the less successful you will be in the end.
I wish you a lot of fun on my blog and am very happy if you post your tips, suggestions or questions about the topic as a comment!
All the best light,
Your Tanja
