
Woodland Photography or, how do you photograph trees, treescapes or forests properly? Photographing forests sounds easier than it actually is. Because of all the trees, it’s often not that easy. Many forest photos just look jarring and fail to capture the true beauty of the forest. But with the tips you’ll find on this blog, you too will succeed in taking beautiful forest photos.
What is Woodland Photography?
Woodland Photography is a niche in landscape photography. Woodland means “land covered with trees”. So land that is covered with trees. By and large, it can also be translated very broadly as forest photography. Beyond that, however, it often includes photographs of single trees or small arboreal landscapes.
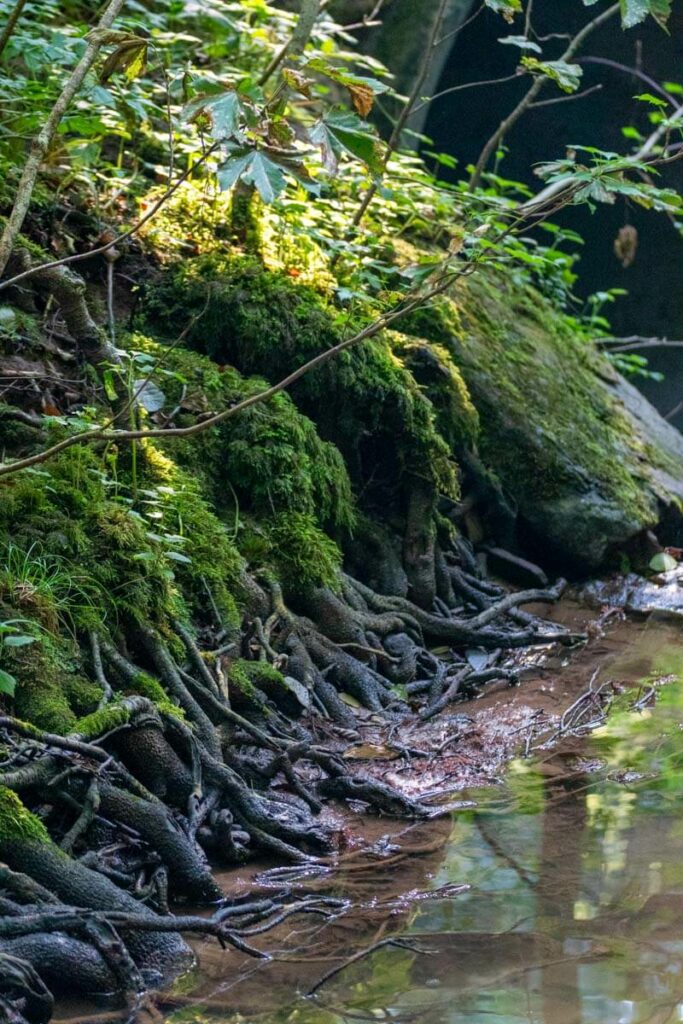
You don’t necessarily have to photograph whole trees, though. Photos of branches, tree stumps or parts of a tree also fall under the term “Woodland Photography”. My personal definition goes a bit further. For me, Woodland Photography includes everything that has to do directly or indirectly with forests and trees. In my eyes this also includes animals, plants and mushrooms. That’s why you will always see macro shots or animal pictures on my website.
To me Woodland Photography is everything related to trees – in whole or parts of it – as main motif or what lives in and around the forest.
What makes woodland photography so special
For some photographers, forest photography is the pinnacle of landscape photography. Finding the perfect composition in the chaos of the forest, using the weather to your advantage, or making the most of the often sparse light in the forest. That’s what makes forest photography so special for many.
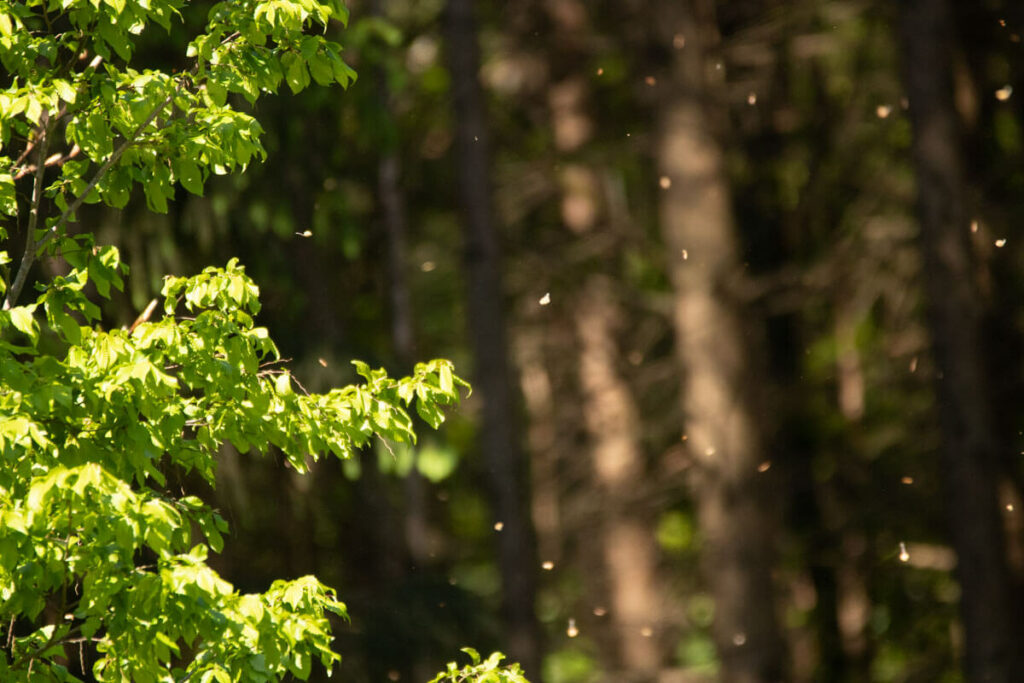
In addition, forest photography is very diverse. Treescapes, details, macros, there is so much to photograph when it comes to Woodland Photography.
For me, photographing in the woods is the most beautiful and relaxing thing there is. I love being in the woods early in the morning when everything is slowly waking up. The quietness there is just so good for you. Especially in times like the current corona crisis, I can forget all my worries there. And no matter how often I walk the same path, visit the same place in the forest, I find something new every time I visit.
Woodland Photography Challenges
As mentioned earlier, this is a niche of landscape photography. For many photographers, forest photography is one step more difficult than pure landscape photography. It is often not so easy to highlight motifs in the chaos of the forest. Many forest photos look restless because they do not have a clear image composition. Often the view is also distracted from the actual main motif by other trees or branches. If the photographer has managed to define one at all.
In addition, there are often difficult lighting conditions. It is too dark, the light does not fall at the right angle or the sky seems too bright in relation to the too dark trees.
So that your Woodland photos in the future also have the special something and are noticeably different from the snapshots of the walkers, I want to talk in the next few weeks about the basics of forest photography. I will explain what equipment you absolutely need and what is “nice to have”. Later, I’ll go into individual topics, such as finding composition or shooting details without a macro lens. But let’s start with the two most important things that will determine the success or failure of your photo tour.
Woodland Photography – the forest
I recently saw a video by Gary Gough on YouTube. And what he says there is as simple as it is true. Namely, he says that the most important thing for good photos is the right forest. If you’re not getting good forest photos (even though you’ve mastered your camera and understand the basics of forest photography), it may be because the forest just doesn’t have character. Sounds totally obvious, but: what exactly is a forest with character?
Forest with character for me is
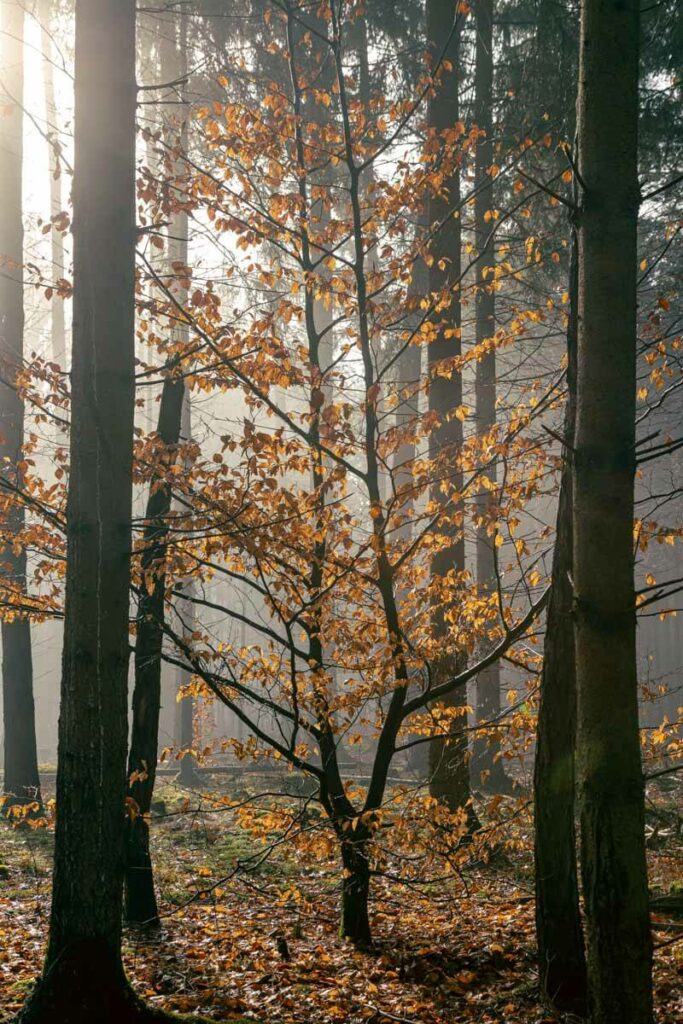
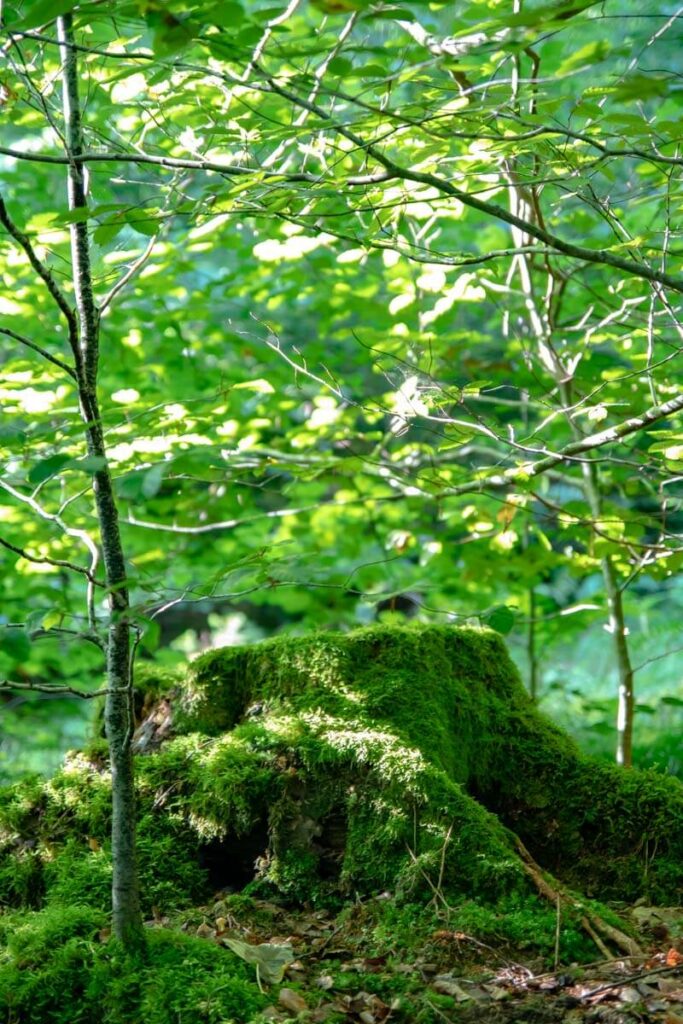
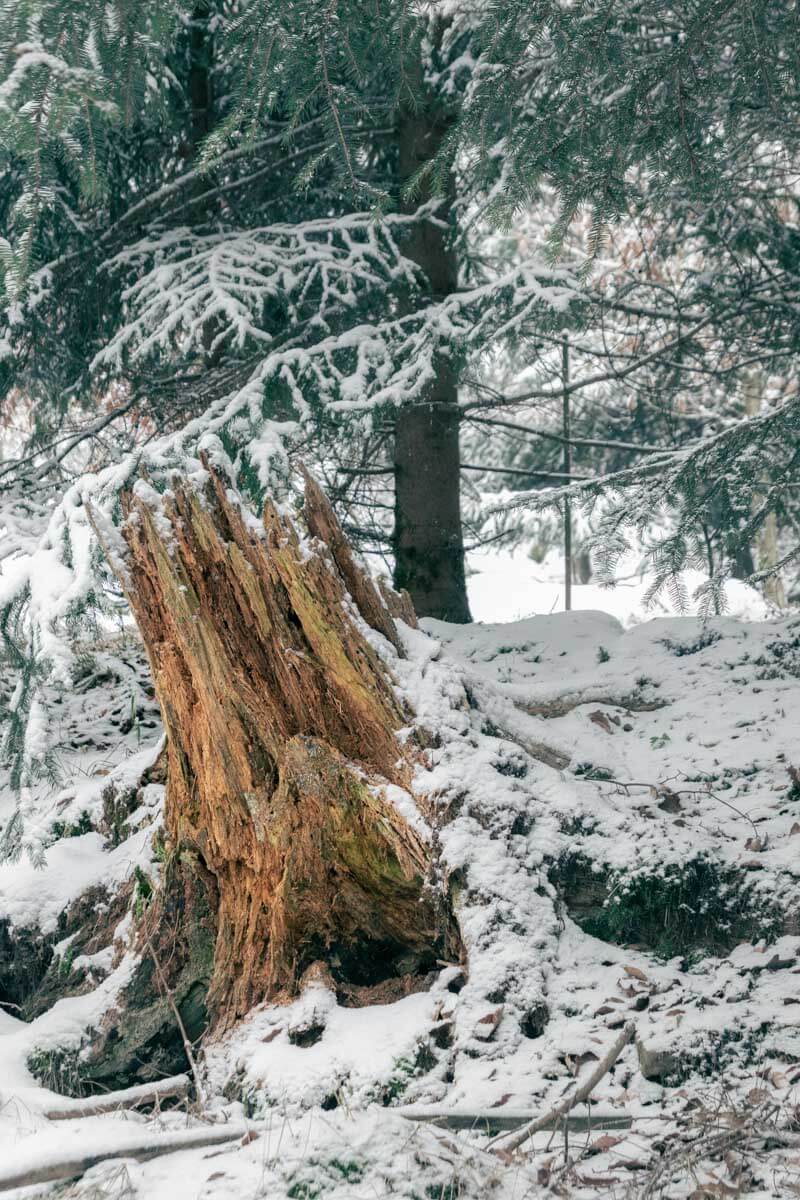
For me, a forest with character is an old forest with many different trees of different ages. In my eyes, mixed forests are the most beautiful. But also in forests with only one or a few tree species you can find beautiful compositions. In any case, it’s important that it’s not one of those commercial forests where all the trees stand in rows or grow straight up into the sky.
Personally, I think you can feel if a forest has character. Somehow not every forest has the same flair and doesn’t trigger the same feelings in you. Recently I was in another forest, where I am otherwise rather rare. And after not even 5 minutes I turned back because I saw nothing interesting and something was missing. It just doesn’t have the right flair for me to stay there longer.
Ultimately, you decide for yourself whether you like a forest and whether you find beautiful motifs there or not.
Woodland Photography – you need time
It’s seldom done with “a quick shot” in photography anyway. This is even more true if you want to take pictures in nature. If you want to take more than a few snapshots during a Sunday stroll, time is of the essence.
The light in the forest is constantly changing. You can visit the same spot multiple times and never find the same conditions. Of course, this is true for any type of landscape and nature photography. Which is why this point is universally applicable to all the different disciplines.
But unlike studio photography, where you can influence the light 100%, or travel photography, where you often have very little time on location, you have a distinct advantage in your forest at home. You can visit it at any time of the year or day. And you can always come back if the light or the mood doesn’t suit you.
Take your time and stay longer in one place. Look at it closely, how does the light fall in the morning or afternoon? How on a sunny day and how on a foggy day? Only if you take enough time to look around calmly, you will succeed with time good photos.
Tips for Woodland photography
Over the next few months, there will be some new blog posts here that deal with individual topics in more detail. But in this post, you’ll find a brief summary of the six most important points that will help you take better forest photos right away.
1. Gear matters, but it is not everything
Whether you shoot with a cheap beginner camera or an expensive professional camera, the equipment alone is no guarantee for good photos. Therefore, don’t stress so much in the beginning about which camera or lens you should buy.
For the beginning, the best camera is the one you have right now. I personally don’t recommend using a cell phone as your only camera. But the cell phone helps you to find the right composition faster. Only a tripod is an absolute must for good photos in the forest, even (and especially!) if you are just starting to photograph.
2. Best camera settings
I go into more detail here about the most important camera settings for forest photos. But I would like to give you some important tips here in brief:
If you are not yet working in Manual mode and set many or all settings to “Auto”, limit your ISO values! Every camera has a different noise behavior. Find out up to which ISO value your camera still delivers acceptable images before the quality suffers too much. Then go into the camera settings and limit your ISO to that value or a slightly lower value. That way you can be sure you won’t have too much noise in your images.
The autofocus setting for me is set to “One Shot” (Canon) or AF-S (Nikon) for landscape or macro shots. That’s the optimal setting for subjects that aren’t moving. And since we’re not in Middle Earth, we don’t have to worry about our trees suddenly getting legs and running away. If they do, give me a call!
When selecting the measuring fields, I prefer the “Manual measuring field selection” or zone selection. I don’t use the fully automatic AF point selection, where the camera itself decides what to focus on and what not. I also rarely use the large and small zone selections. With both settings you limit the area in which the camera automatically focuses. If you want to have full control over the focus point, you select a single metering area.
You can set the white balance to either automatic or cloudy. For me it is always set to cloudy. You can adjust the setting afterwards in Lightroom.
If you’re using a tripod and don’t have a remote shutter release (or don’t have the right app to go to your camera), don’t forget to set a timer! You use the tripod to avoid camera shake. However, when you press the shutter button on your camera, you’ll have micro-shake. So use the delayed release to minimize this. Again, you’re shooting a still subject and have plenty of time.
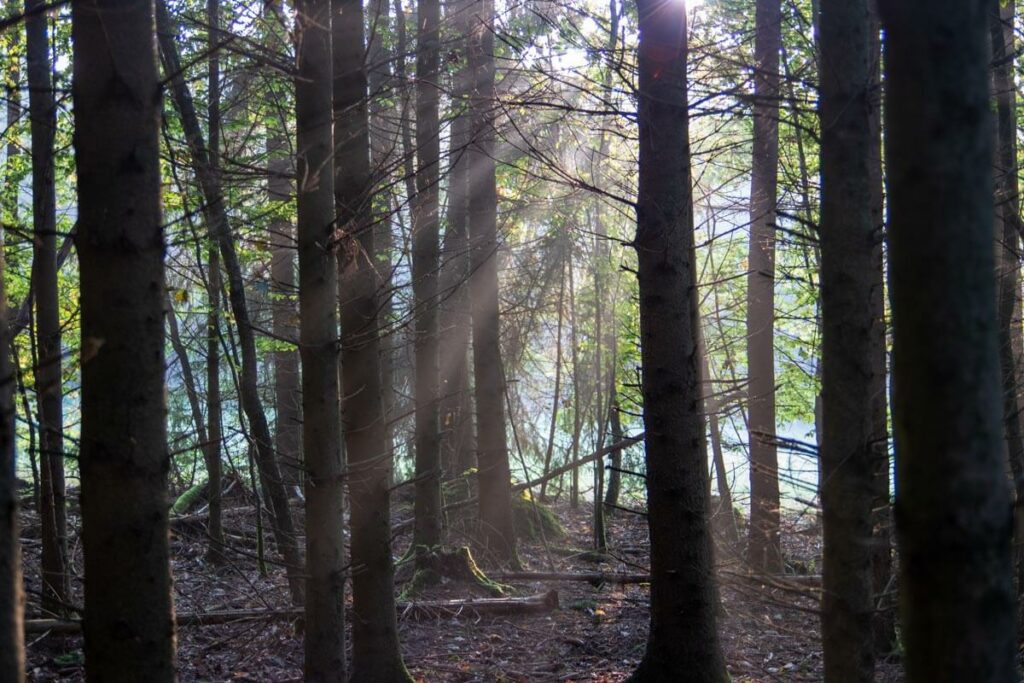
3. The right light decides the effect
As you surely know, the right light is very important for the image effect. In the forest, you are somewhat less affected by the high sun than in the open field. Nevertheless, the light has an effect here, too, of course. Especially in the first bright hours of the day and in the last hours before sunset, the light is at its best.
Try it once, go to your favorite forest at different times of the day and photograph the same spot in different light conditions. You will immediately see how the effect of the subject changes, even though you always photograph the same thing.
4. The format can determine success and failure
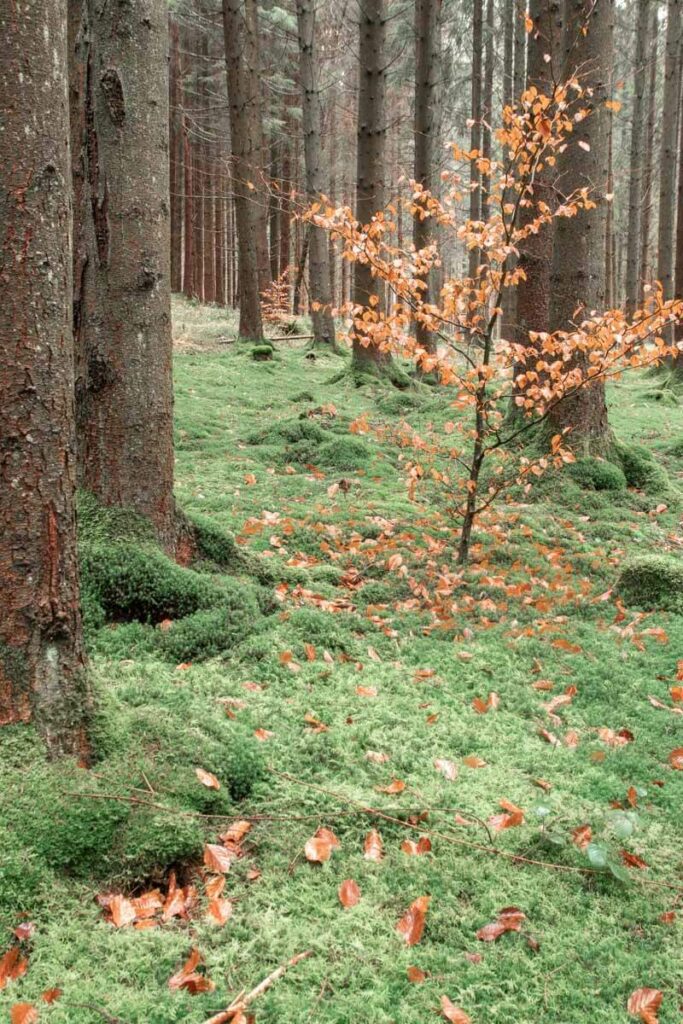
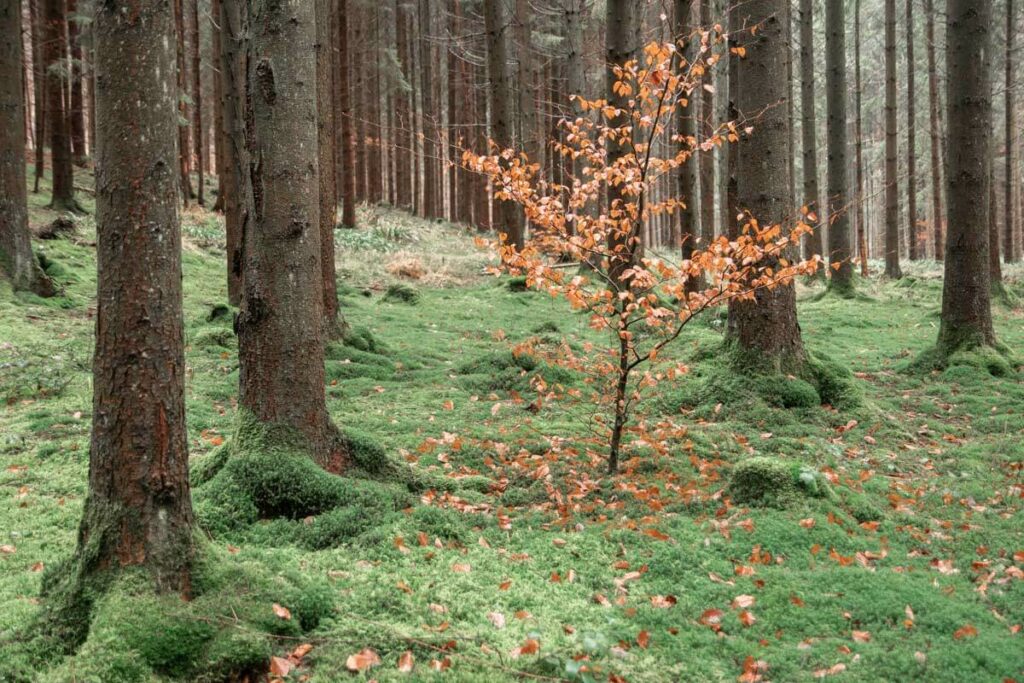
The camera is designed to be held most comfortably horizontally. This means the long sides of your photo are up and down (landscape format). However, some subjects look much better in portrait format. If you are unsure, just try both formats.
Below you see the same tree, the same subject with the same processing. Do you like it better in portrait or landscape format and why?
5. Omit!
When photographing, what you leave out is just as important as what you take in. A branch at the edge of the picture distracts too much from the center of the image. Tufts of grass in the foreground? Can be very distracting. Cut trees? The image looks broken. Below are some images where I haven’t really paid attention to how I design my image.
If you notice such pictures at home, you can often save them with the help of Lightroom and Co. by cropping them (cutting away certain parts of the picture).

6. Postprocessing
Which brings us to the next point. Even absolute professionals who make their living from photography and have done nothing else for years, edit their photos. In many photography groups I read again and again “I don’t post-process my pictures”. That’s fine, but it doesn’t do you any favors. Almost every image needs post processing.
Whether it’s boosting the depths or darkening highlights, adjusting the color intensity or sharpening. Maybe you want to straighten the horizon or remove a disturbing image element. Something can always be optimized. Whether you use Lightroom, Photoshop, Luminar or Gimp is up to you.
Here you can see very nicely that the original was pretty good in itself. However, it was a little too dark in places.
I emphasized the depths and lowered the highlights. I also turned down the dynamics, reduced the saturation of the yellow and highlighted the orange. Finally, I applied the lens correction. That was it. Despite minimal post-processing, it immediately looks much more lively.

Woodland Photography – Success not guaranteed
Landscape photography, and for me even more so forest photography, is not a hunt for the perfect photo. The perfect photo is a reward that you won’t get on every one of your photography trips. Even though you will learn a lot over the next few weeks, there will always be days when you come home with only one good picture, or even none at all.
But it doesn’t matter. Even the photographers who make their living doing this often enough come back empty handed. But much more important is the experience. Soaking up the peace and beauty of nature. Forest photography is like almost everything else in life: The more pressure you put on yourself, the less successful you will be in the end.
I wish you a lot of fun on my blog and am very happy if you post your tips, suggestions or questions about the topic as a comment!
All the best light,
Your Tanja

No comment yet, add your voice below!